
DIY cardboard wall art is one of the easiest and most affordable ways to decorate your walls using materials you probably already have at home. With a few boxes, basic paints, and some cutting tools, you can create geometric pieces, playful characters, and even 3D artworks that look surprisingly refined. Below you’ll find practical ideas, step‑by‑step tips, and real artwork examples from cardboard and paper‑pulp artist Lisa Ketty that you can use as inspiration for your own projects.
Key Takeaways
| Question | Short Answer |
|---|---|
| What is DIY cardboard wall art? | Wall decor made from recycled cardboard or paper pulp, cut, layered, and painted into graphic or 3D designs, similar to the style in the cardboard original artwork collection. |
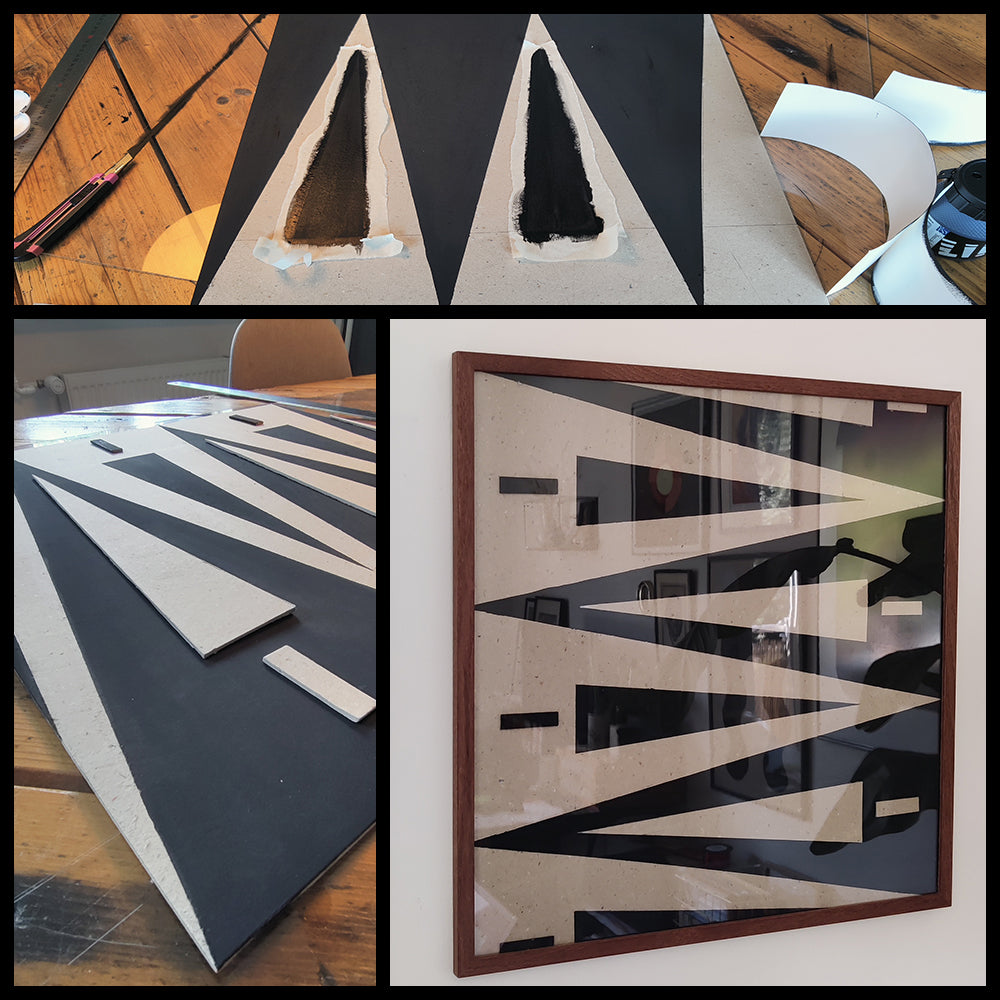
| Is cardboard strong enough for wall decor? | Yes. Double‑wall cardboard, glue, and a frame or backing board keep pieces flat and durable, as seen in works like the Zig‑Zag Cardboard Artwork. |
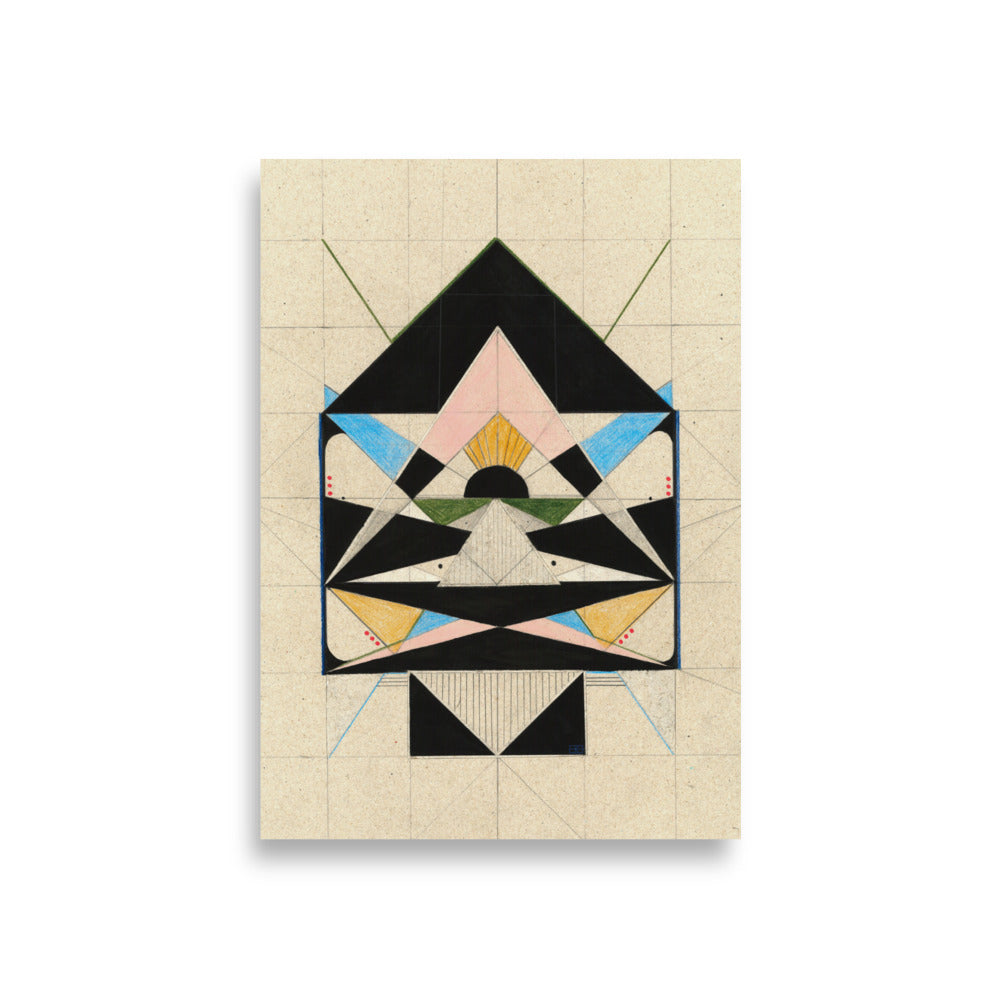
| How do I start if I have no drawing skills? | Begin with simple geometric shapes inspired by posters like the Eight Poster; you only need circles, rectangles, and color blocking. |
| Can cardboard wall art look “finished” and professional? | Yes. Clean cuts, consistent color palettes, and a neat frame can give a gallery‑feel, similar to the pieces in the abstract wall art collection. |
| What room is best for cardboard wall art? | Living rooms, offices, kids’ rooms, and even kitchens—playful designs such as those in artworks for the kitchen show how well cardboard‑style graphics work in many spaces. |
| Where can I find more DIY ideas with boxes? | Check guides like the blog on easy cardboard art DIY ideas with boxes and paper mache for extra techniques. |
| Can I mix DIY pieces with bought prints? | Definitely. Combining homemade art with prints from collections like latest artwork creates a balanced gallery wall. |
1. Why DIY Cardboard Wall Art Works So Well for Modern Homes
Cardboard is light, easy to cut, and practically free if you reuse shipping boxes. For DIY wall art, that means you can experiment with bold ideas without worrying about wasting expensive canvases or materials. It’s also simple to hang with pins, tape, or lightweight frames.
Artist Lisa Ketty’s cardboard‑inspired posters and originals show how far this material can go—her pieces are based on recycled cardboard shapes, then stylised and printed or preserved as originals. Seeing finished works like the “Cardboard Spaceship Arrow Poster” or “Eight Poster” helps you understand what’s possible when you move from plain boxes to strong, graphic compositions.
2. Essential Materials and Cost: Building a DIY Cardboard Wall Art Kit
You don’t need much to get started with DIY cardboard wall art. The basics are cardboard, a cutting tool, glue, and paint or markers. If you want your pieces to look closer to professional works like Lisa Ketty’s, add a simple frame and thicker paper or board as backing.
Here’s a rough idea of what a basic DIY kit might cost, compared to purchasing an artist‑made cardboard artwork. Prices from Lisa Ketty’s site are in USD, converted approximately to EUR (€1 ≈ $1.10 at a rough rate; always check your current rate):
| Item | Example / Notes | Approx. Price |
|---|---|---|
| Recycled cardboard | Old shipping or shoe boxes | €0 (reused) |
| Acrylic paints & brushes | Basic starter set | €10–€20 |
| Craft knife + cutting mat | Precision for clean shapes | €10–€15 |
| Glue (PVA or hot glue) | For layering & 3D effects | €3–€8 |
| Simple frame | Optional but finishes the look | €10–€25 |
| Artist poster inspiration | Cardboard‑inspired print like “Eight Poster” (~$80) | ≈€73 |
| Artist original inspiration | 3D piece like “Zig‑Zag Cardboard Artwork” ($480) | ≈€437 |
Your upfront DIY kit might cost around €30–€60, and you can reuse it for many pieces. Looking at professional works priced from about ≈€73 to ≈€437 helps you appreciate the craft level you can aim toward with practice.

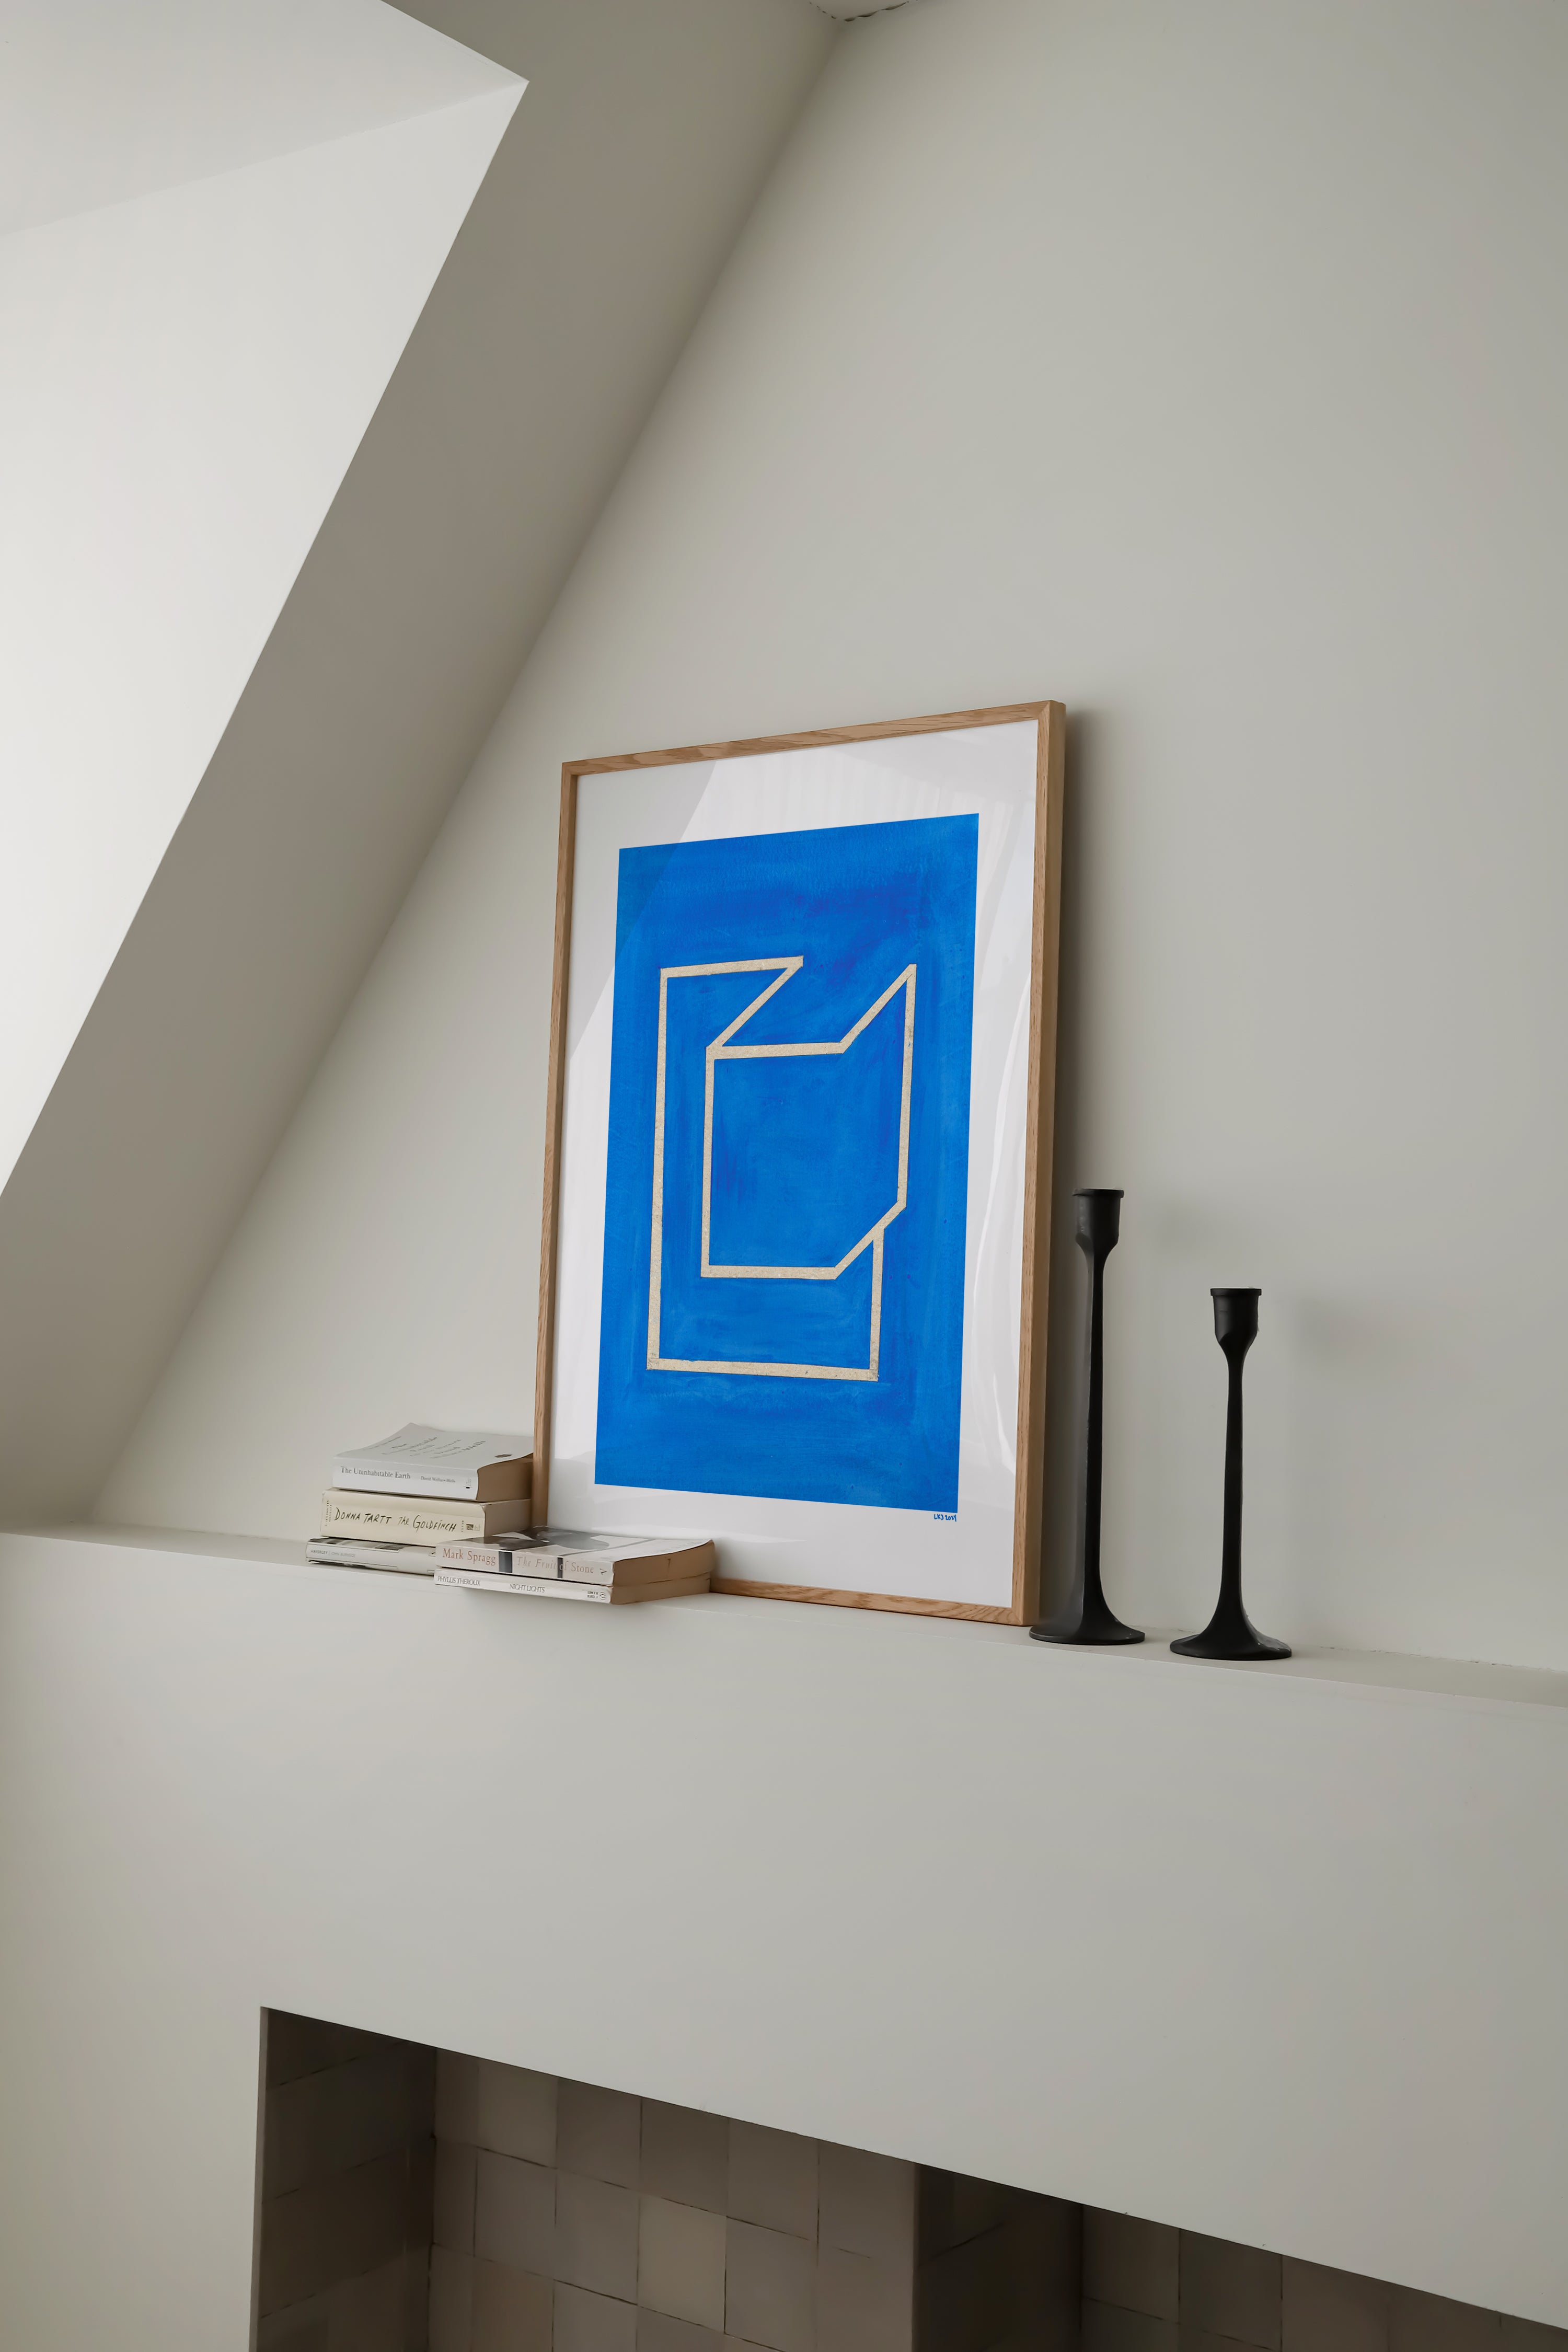
3. Geometric DIY Cardboard Wall Art Inspired by the “Eight Poster”
Using Simple Shapes for High‑Impact Designs
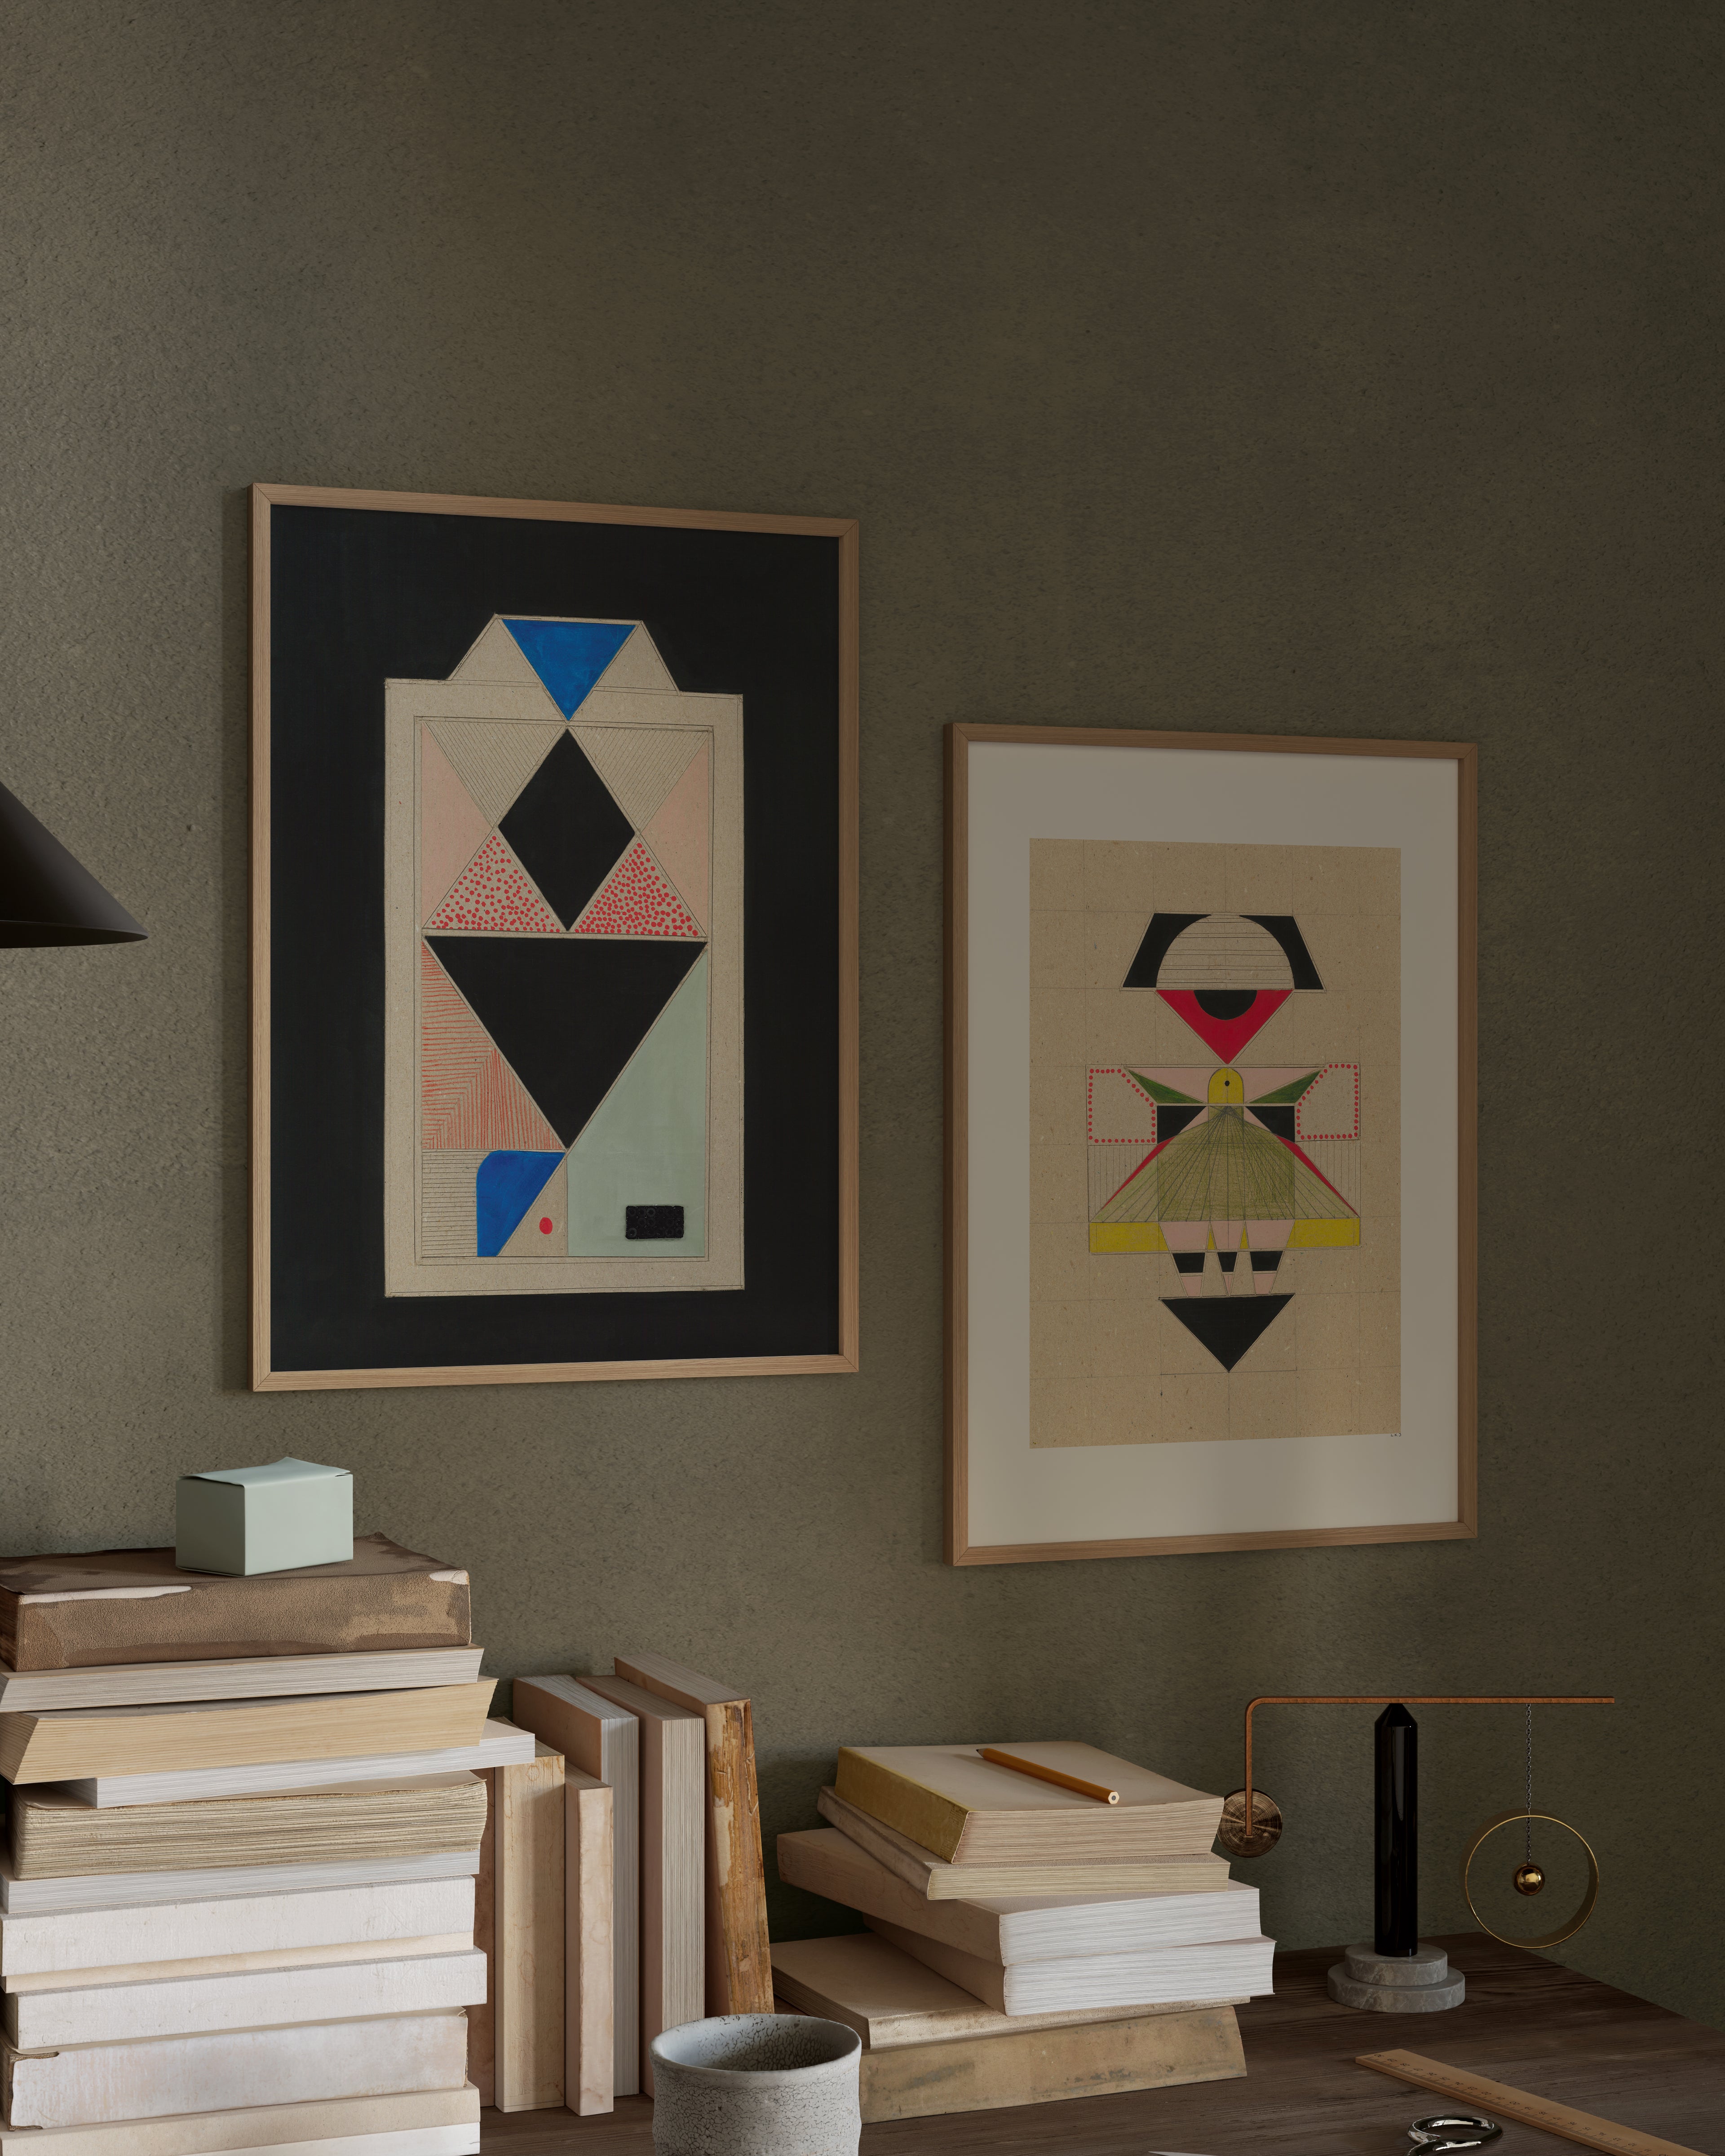
Geometric designs are ideal if you want DIY cardboard wall art that looks clean and modern. The Eight Poster from Lisa Ketty features cardboard‑inspired shapes arranged into a bold figure‑eight composition with a limited color palette. You can borrow this concept by repeating circles, rectangles, or arcs cut from cardboard and arranging them into a balanced layout.
To recreate the feel at home, sketch a grid on a piece of cardboard, then cut separate shapes from another sheet and glue them on top. Paint each shape in two or three carefully chosen colors so the final piece looks intentional rather than messy. This approach produces an artwork that pairs well with minimal interiors and office walls.
4. Turning Recycled Boxes into Playful “Spaceship” and “Rocket” Wall Art
Space‑Themed DIY from Cardboard Scraps
Space and rocket motifs work surprisingly well with cardboard because the blocky shapes and angles fit naturally with cut pieces. The Cardboard Spaceship Arrow Poster combines an arrow shape with a spaceship feel using sharp lines and high contrast colors. For a DIY version, trace a large arrow on cardboard, cut it out, then layer smaller triangles and rectangles on top to create the “engine” or “wings”.
The Paper pulp rocket man shows another direction: a character built around a rocket silhouette. You can simplify this for DIY by cutting a teardrop or capsule shape for the rocket body, then gluing smaller circles and strips for windows and flames. Paint in bright, contrasting colors for a kid’s room or creative studio.
5. 3D and Textured Cardboard Wall Art: Learning from “Zig‑Zag”
Building Depth with Small Cut Pieces
Flat cardboard wall art is a good start, but adding dimension makes your work more sculptural. The Zig‑Zag Cardboard Artwork (around ≈€437) is a 50×50 cm piece where small triangular segments are cut, then glued in a zig‑zag pattern to create a 3D surface. You can see how repeating tiny shapes across a square format gives a strong visual rhythm.
To adapt this idea cheaply, cut dozens of small triangles or rhombus shapes from scrap cardboard. Glue them onto a base in rows, slightly offset so they catch the light differently. Paint everything in a single color (like black or white) to emphasise the texture instead of the individual pieces. Frame it in a simple wooden frame to protect the edges.

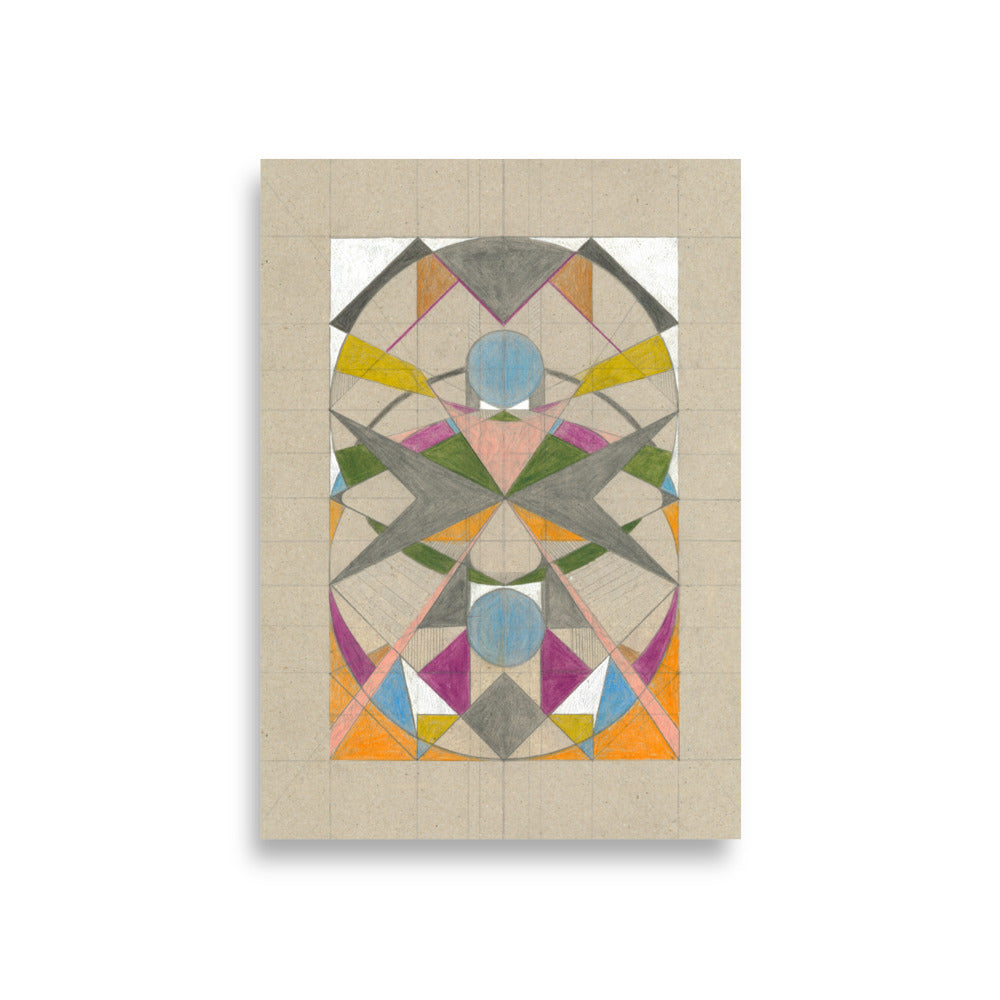
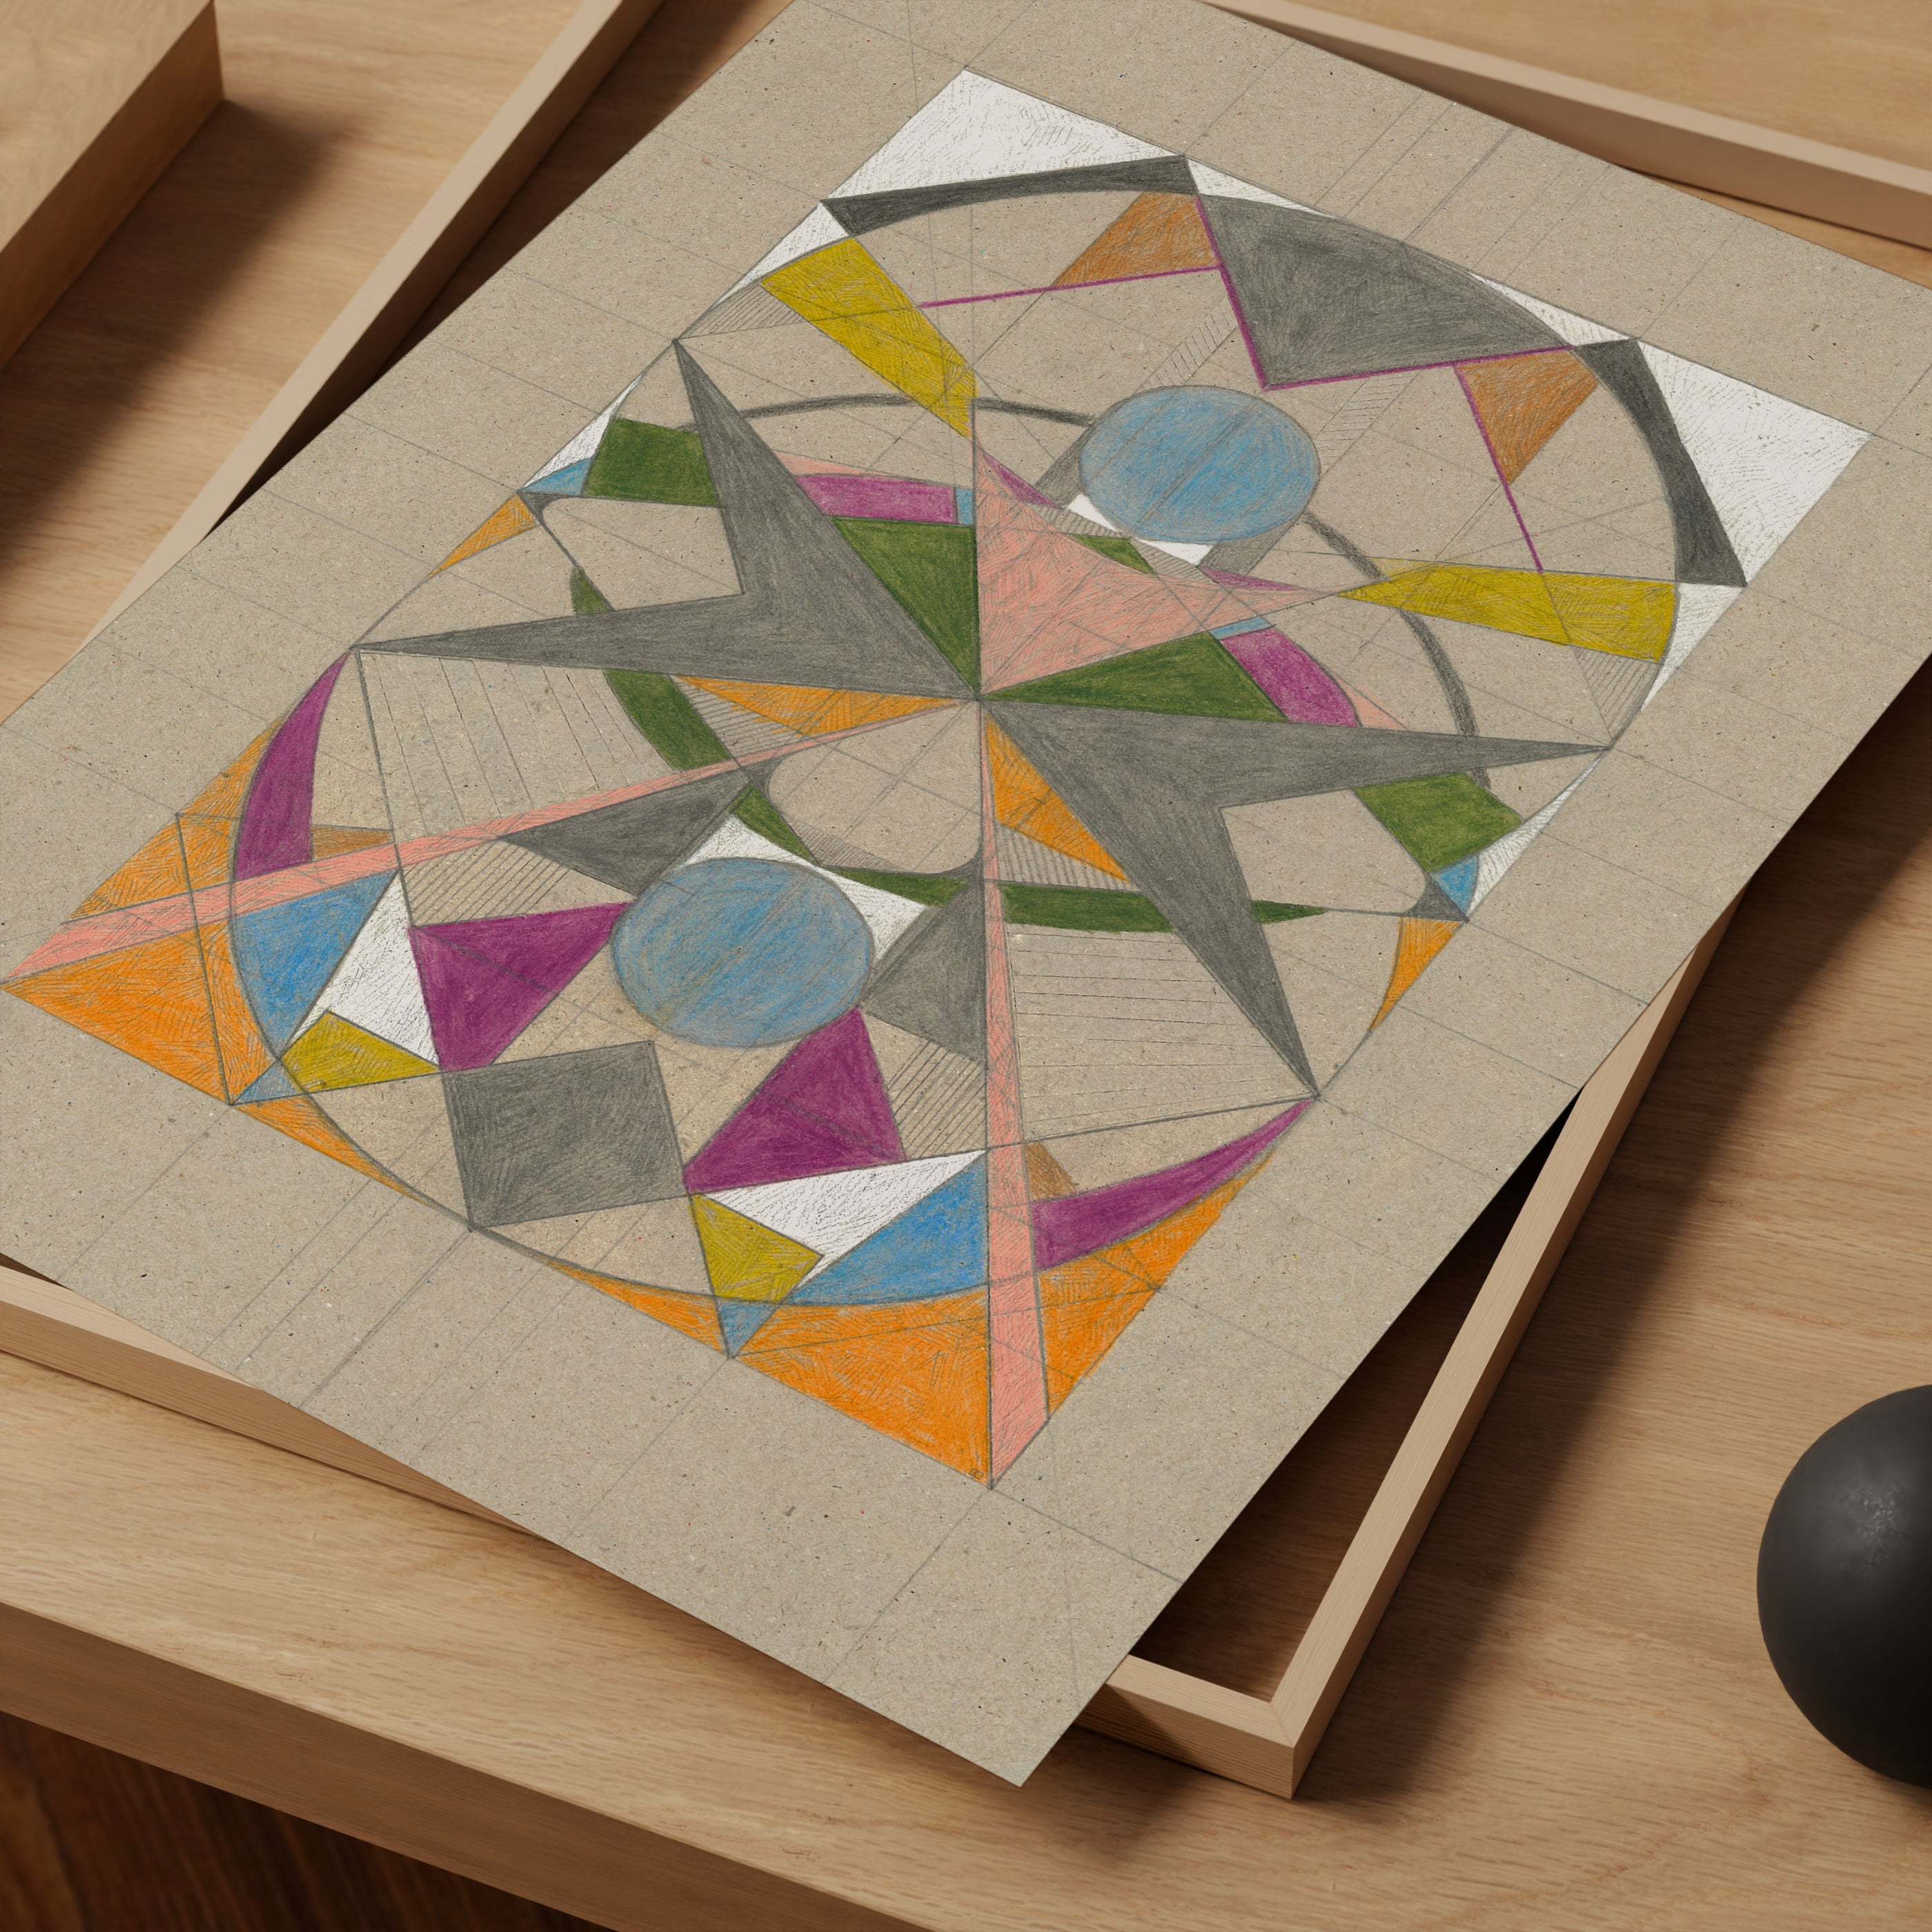
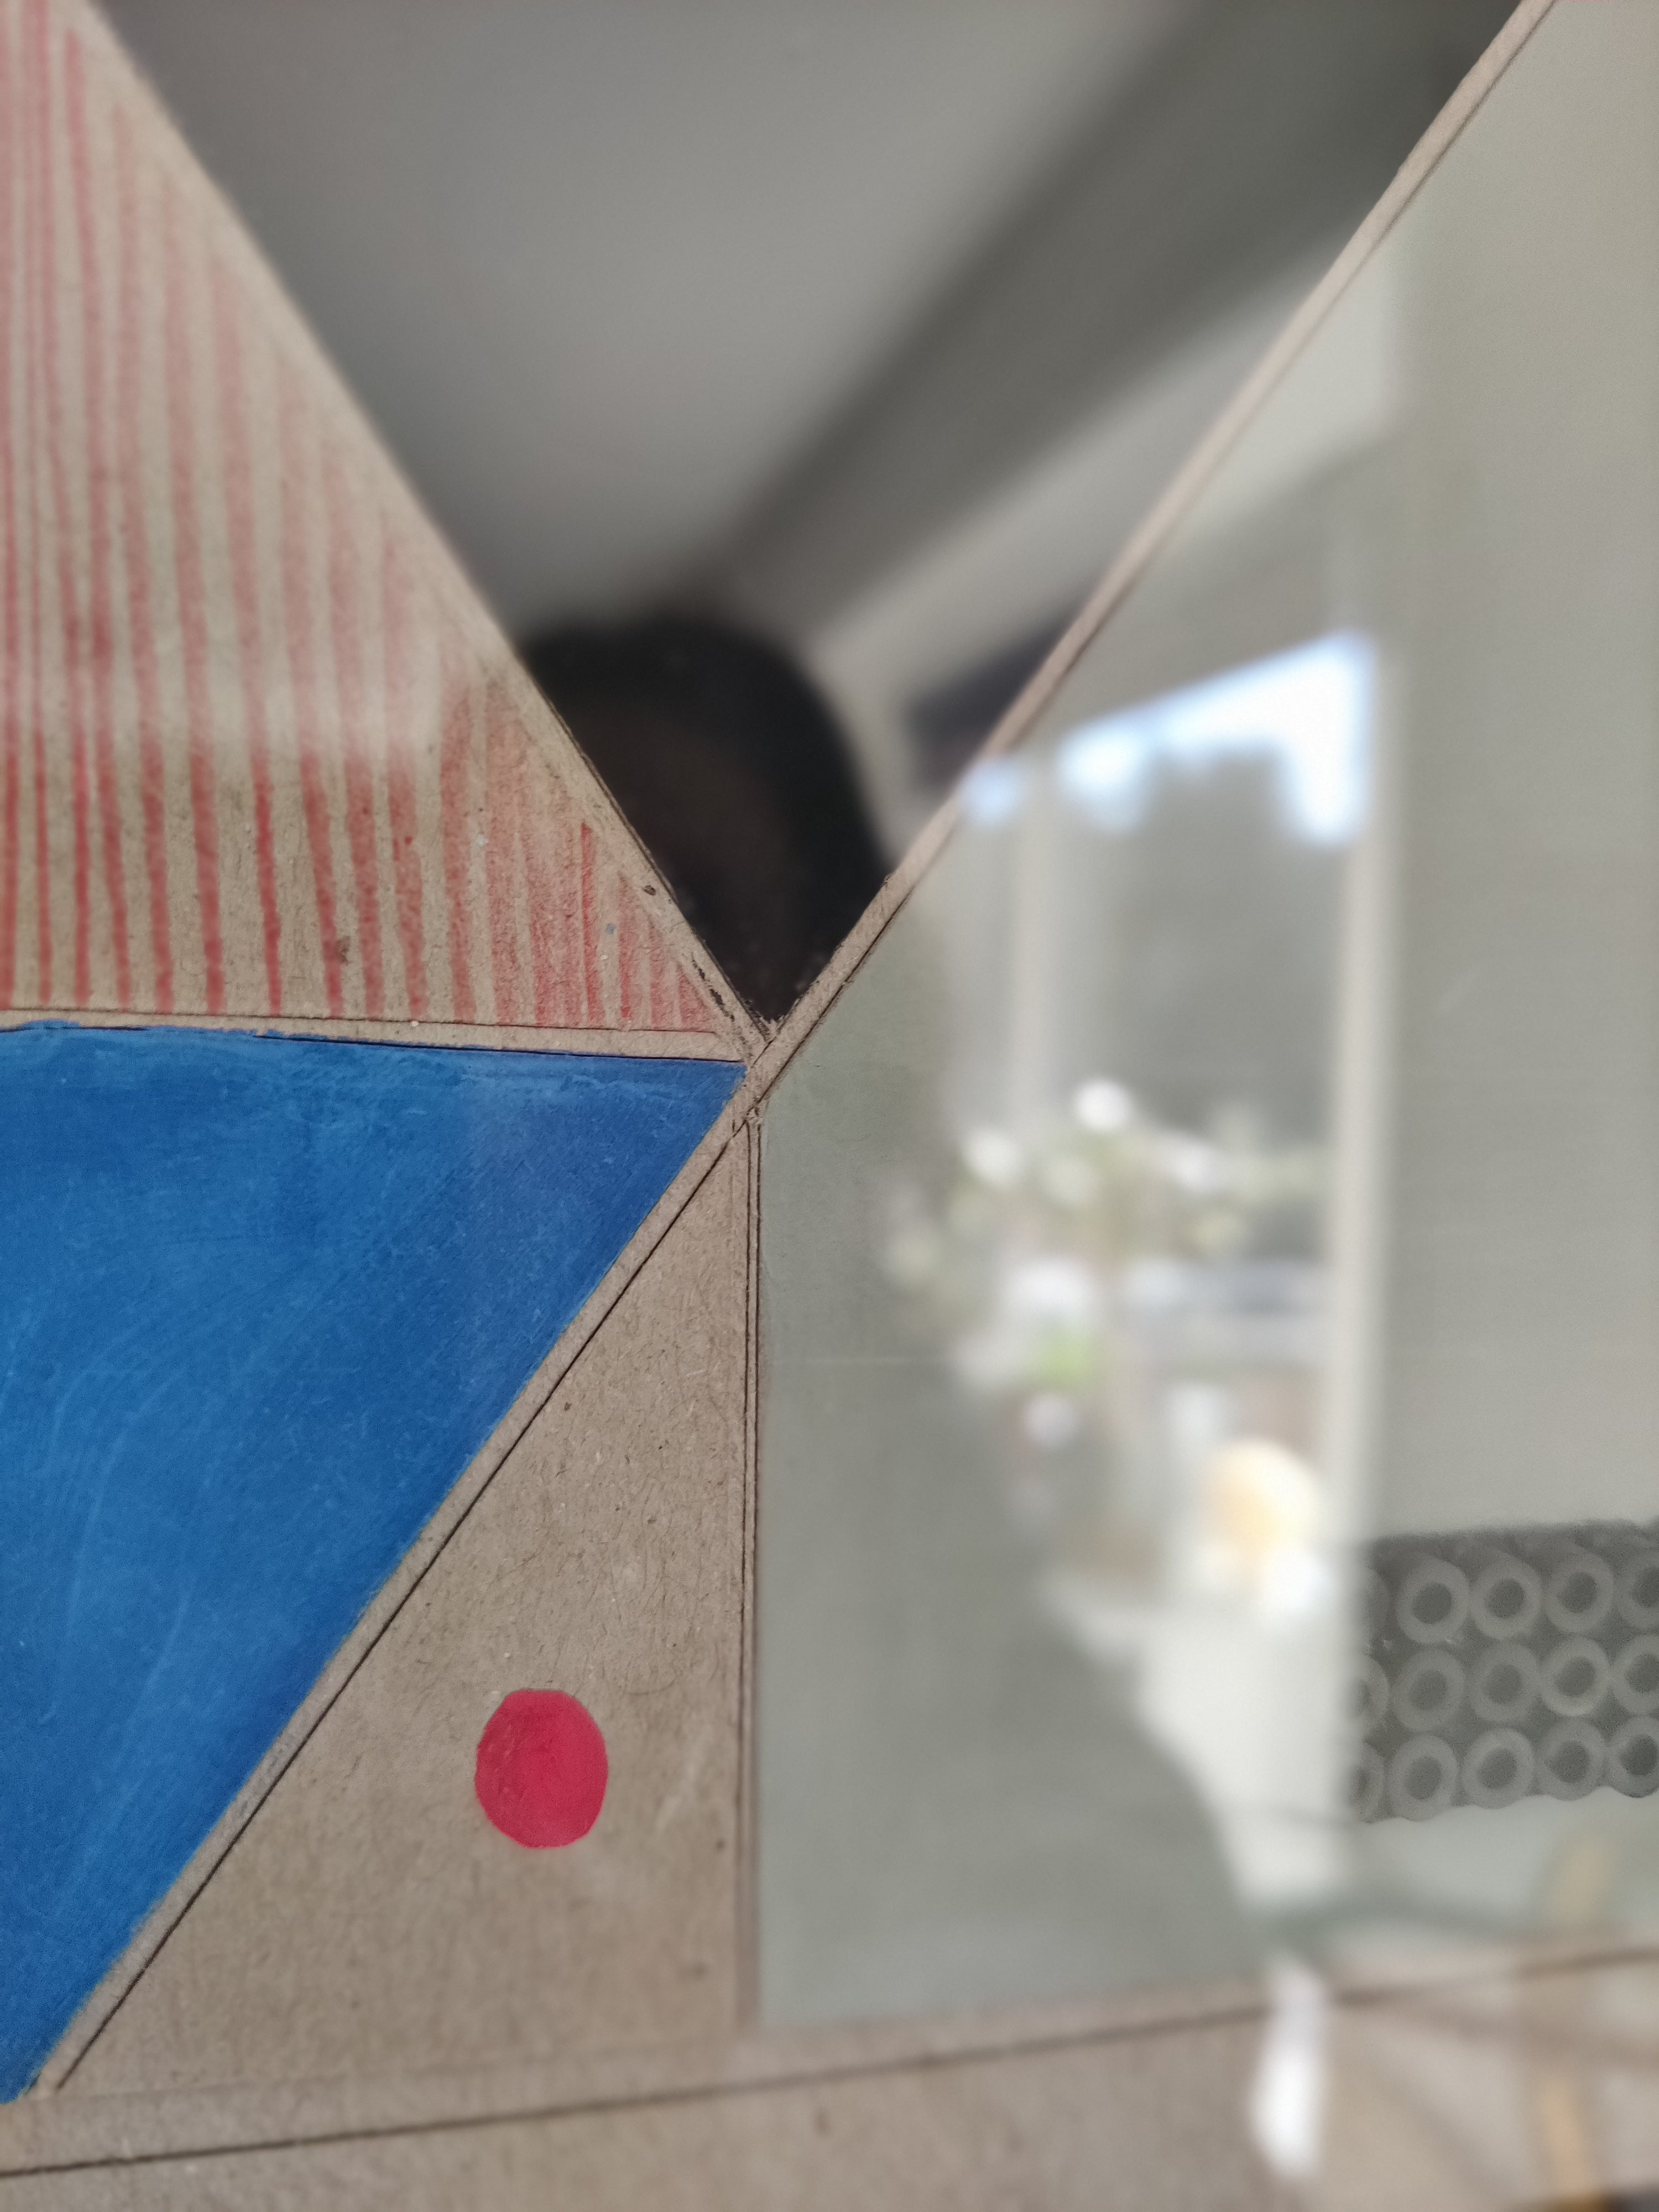
6. Layered “Diamond” and Abstract Shapes: From Original Artwork to DIY Versions
Studying the “Original Diamond” and “Diamond Poster”
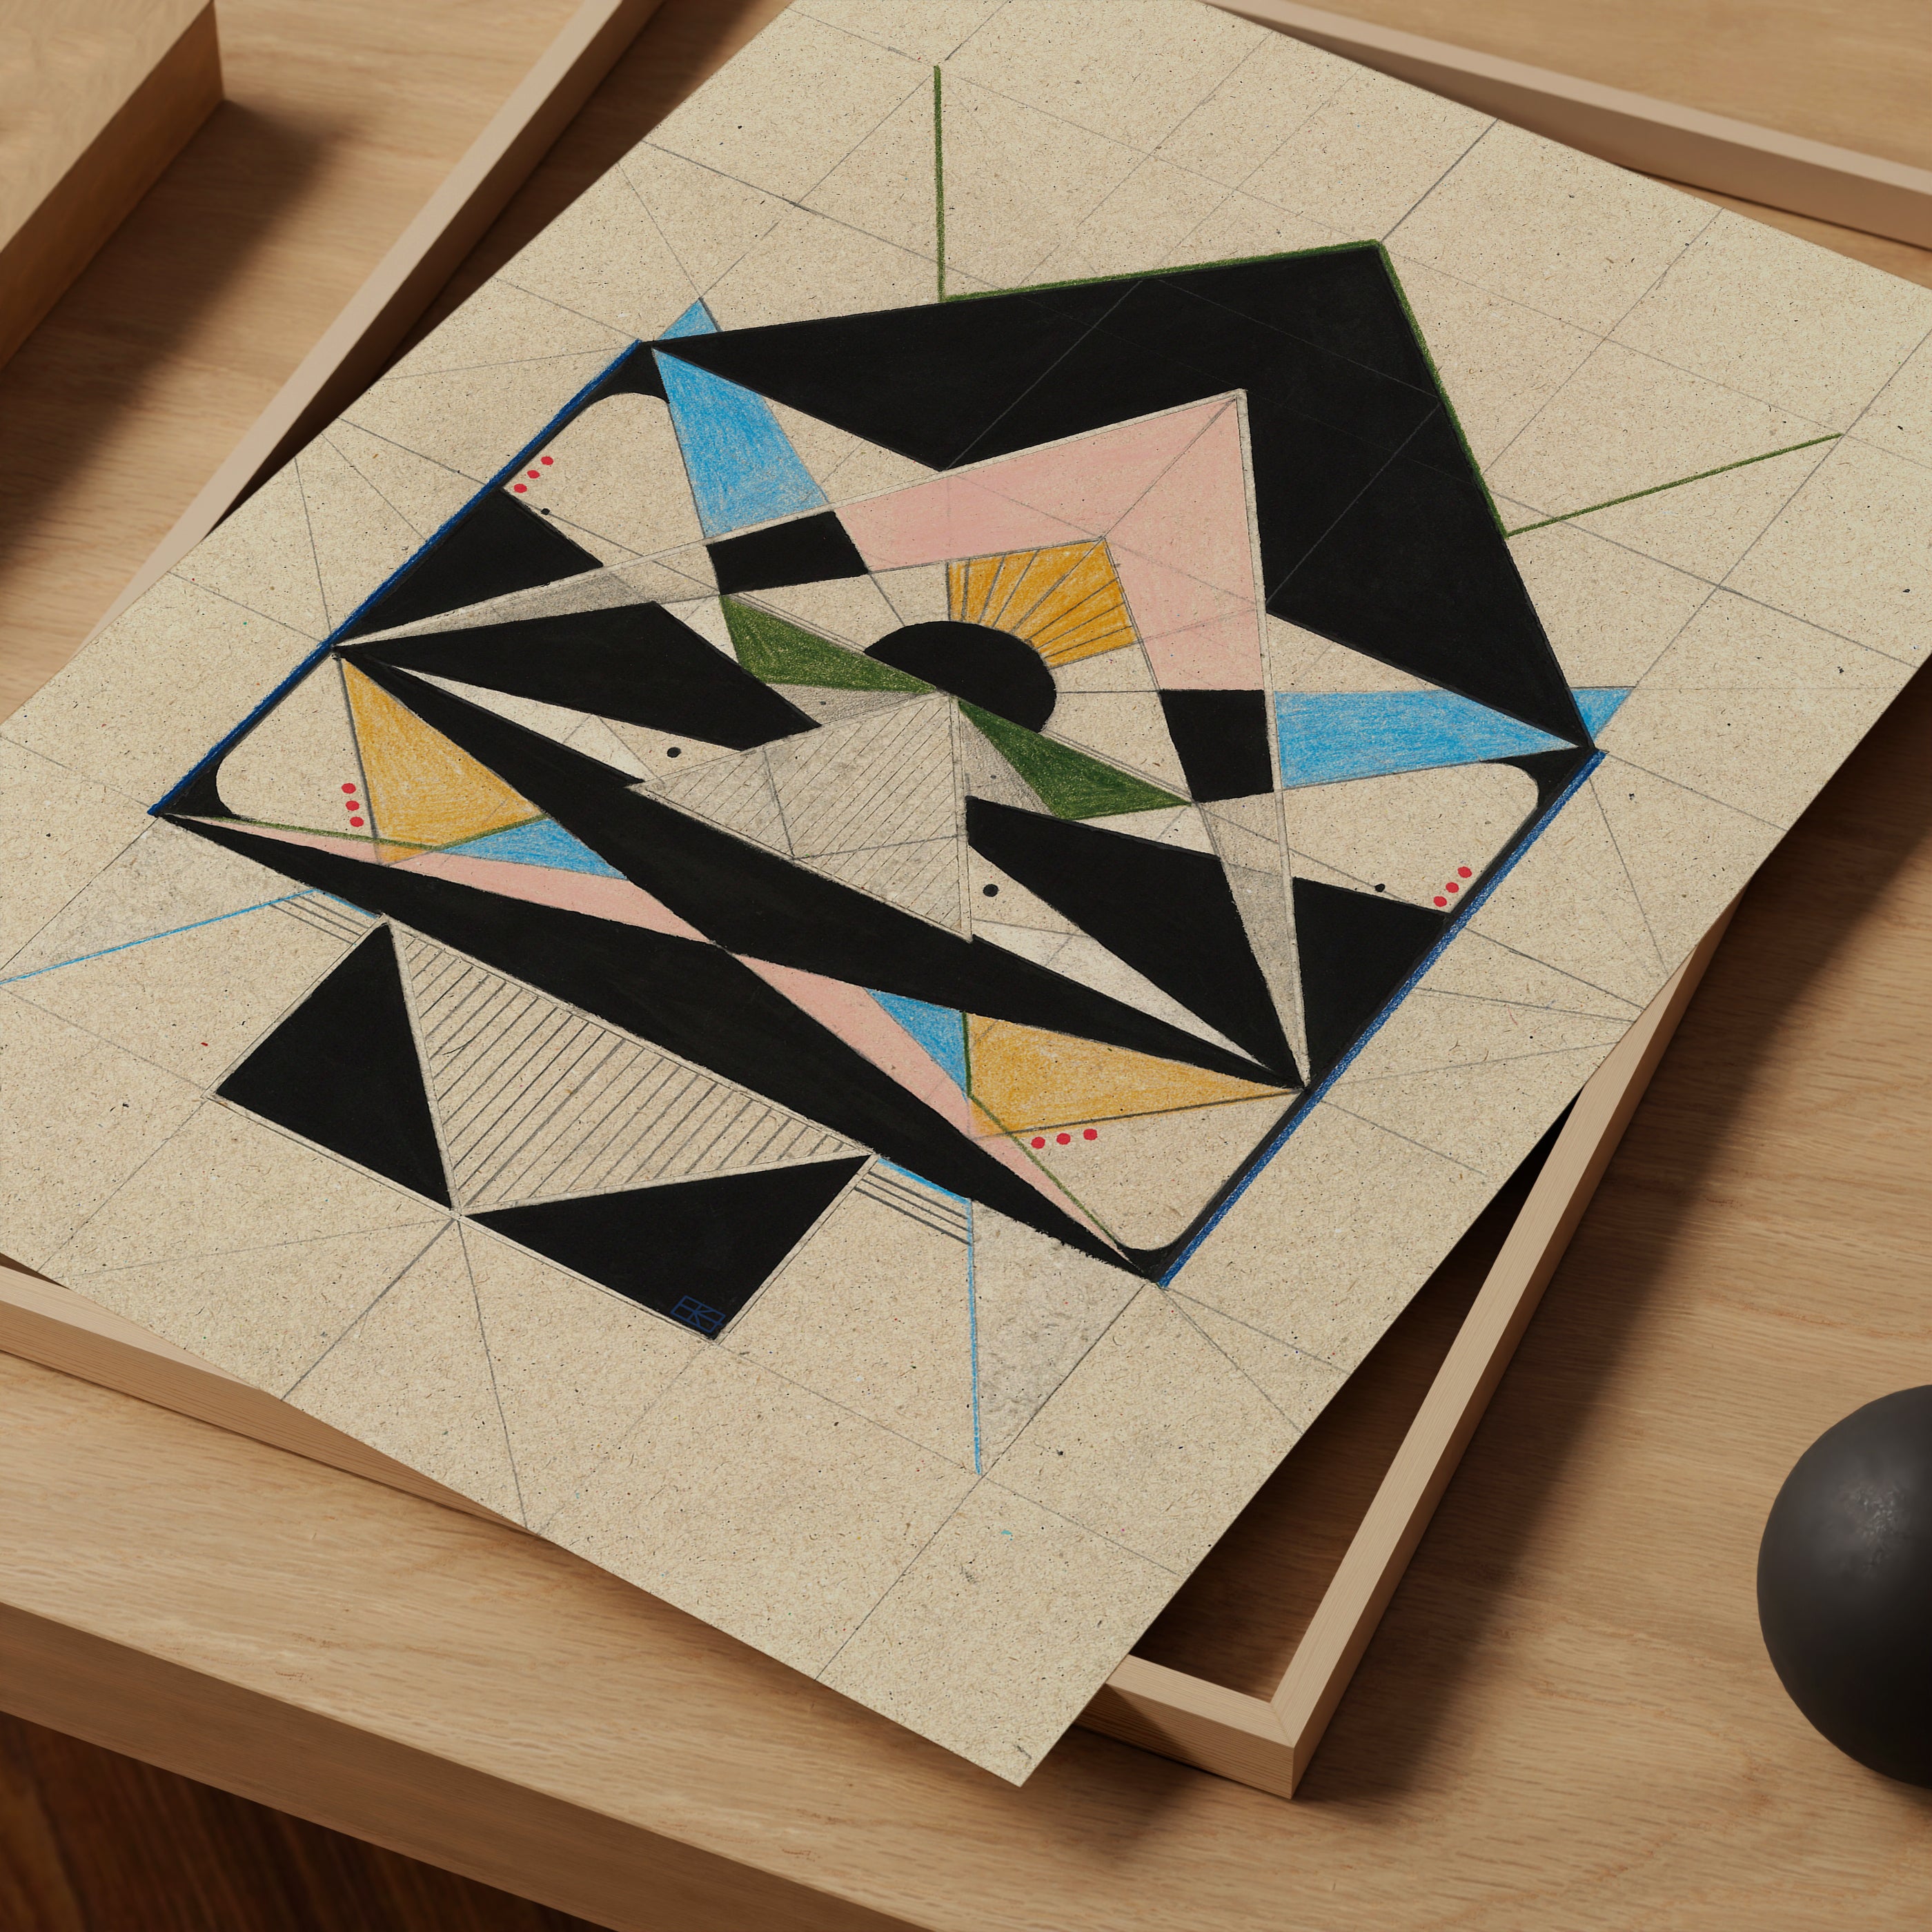
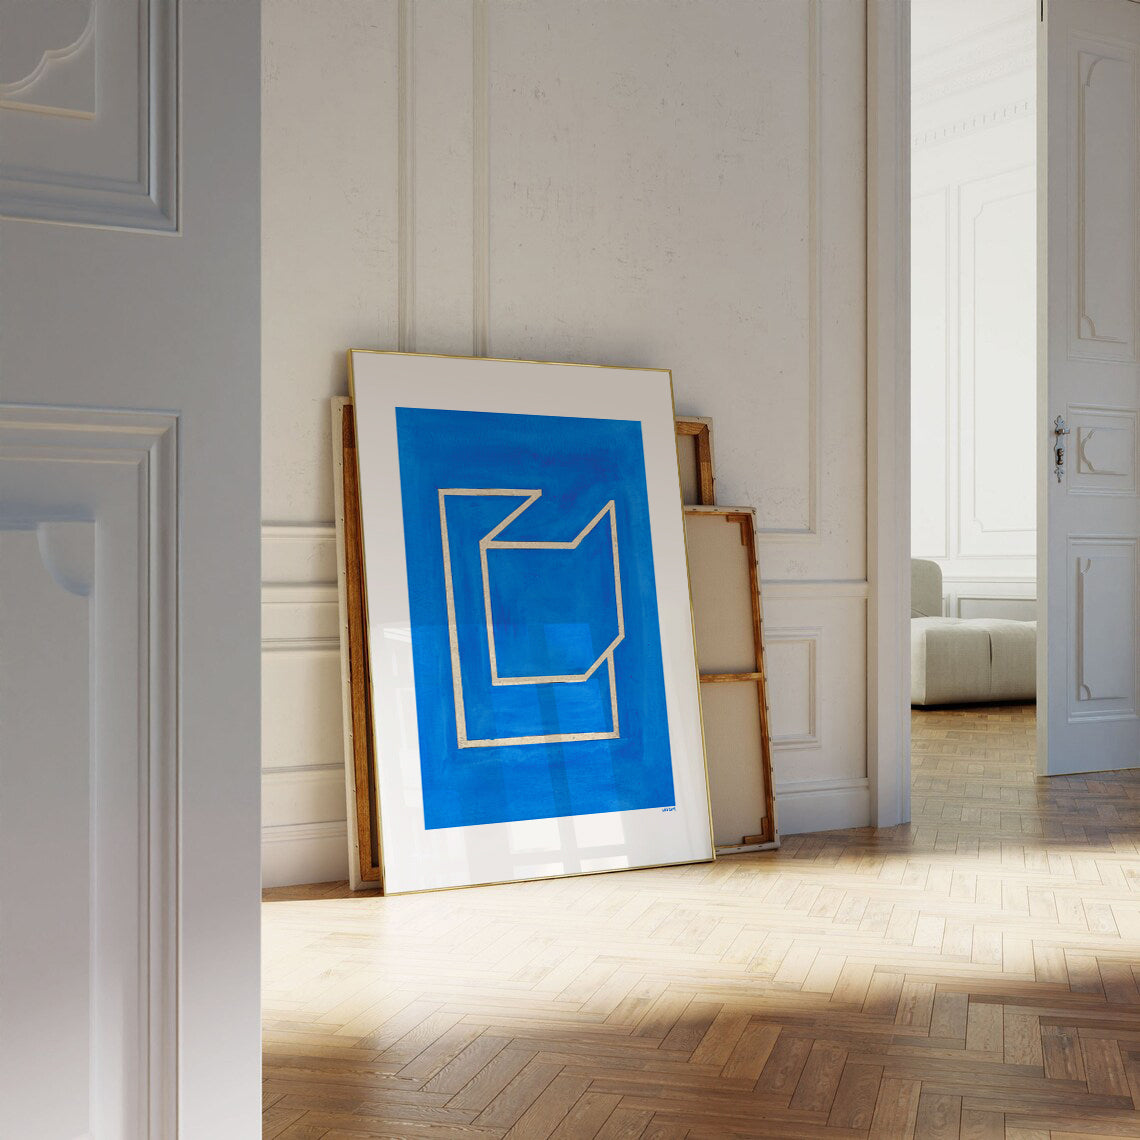
Layered shapes are another easy way to build striking cardboard wall art. In Lisa Ketty’s Original Diamond cardboard artwork (about ≈€364), cut pieces are stacked and painted to form a sharp, diamond‑like geometry. The related Diamond Poster (~≈€73) simplifies this into a flat graphic print but keeps the core structure of crossing lines and bold angles.
To recreate this at home, start with a central diamond or square rotated 45 degrees. Add lines that radiate outward, made from thin cardboard strips. Glue layers so some lines sit above others, then use two or three colors to highlight depth (for example, one for the background, one for mid‑layer, one for top layer). This kind of artwork looks good in hallways or over desks.

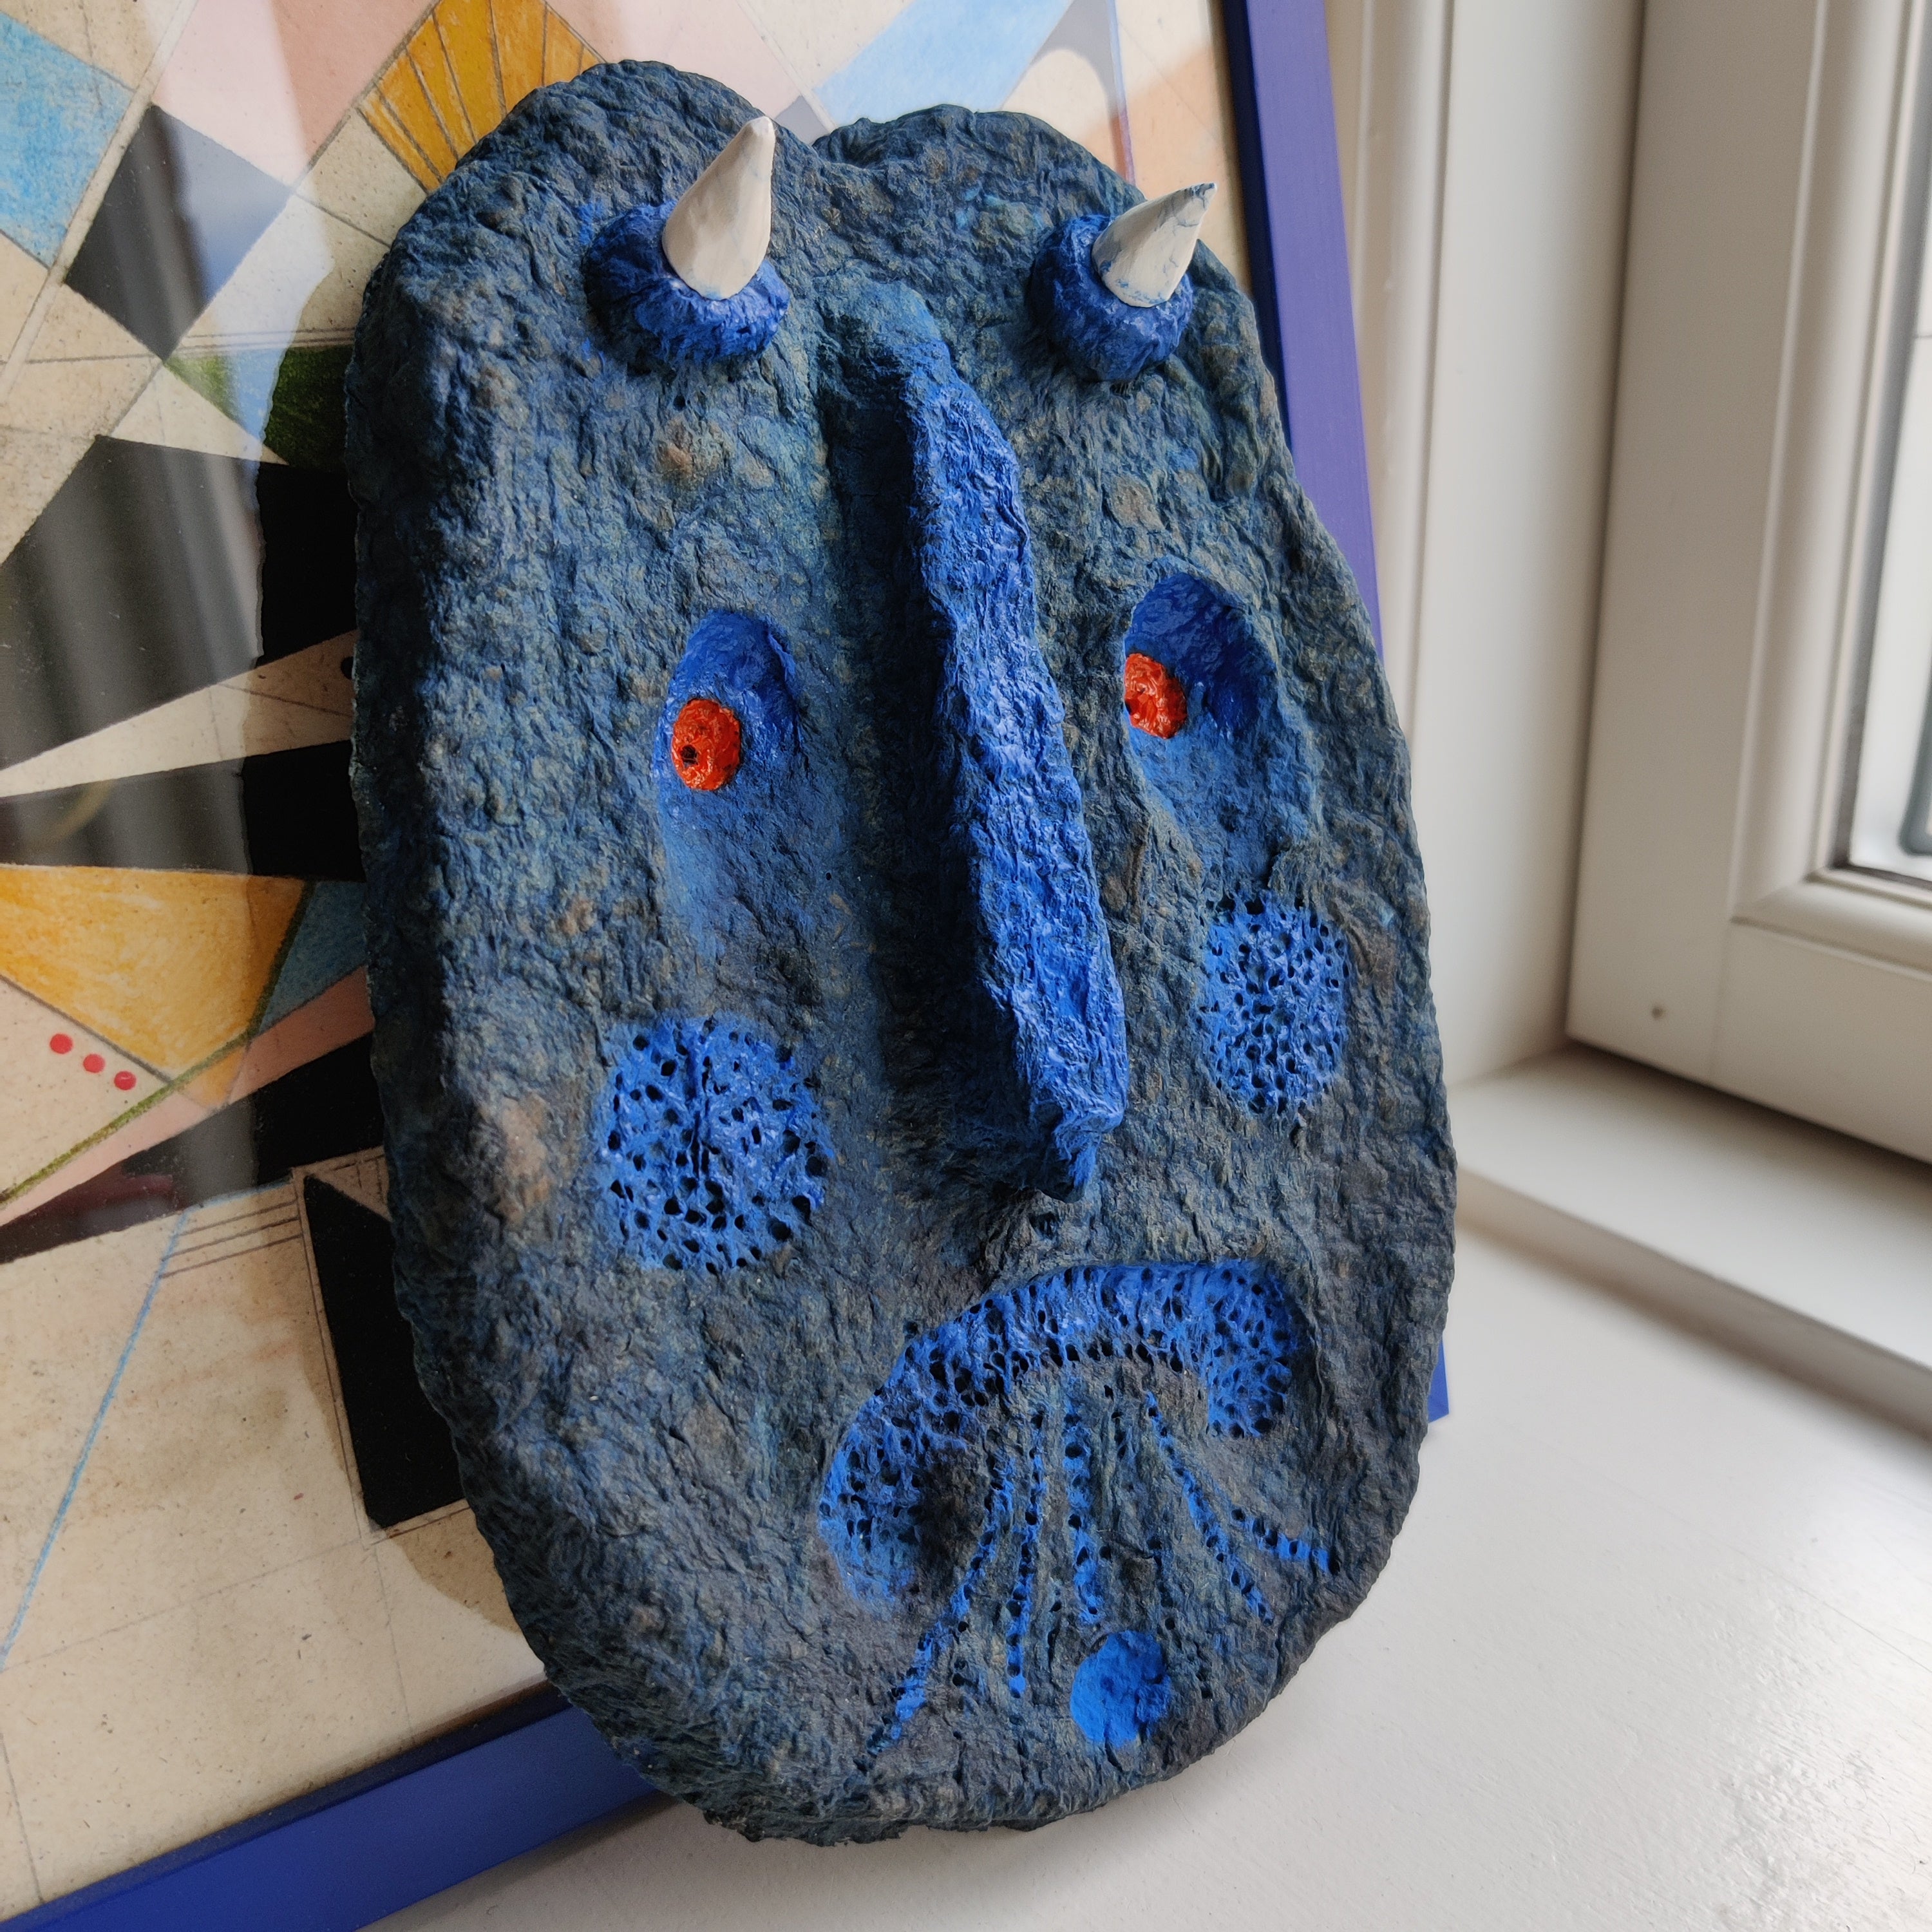
7. Character and Creature Designs: “Blue Devil” and “Blue Penguin” as Models
Turning Simple Shapes into Characters
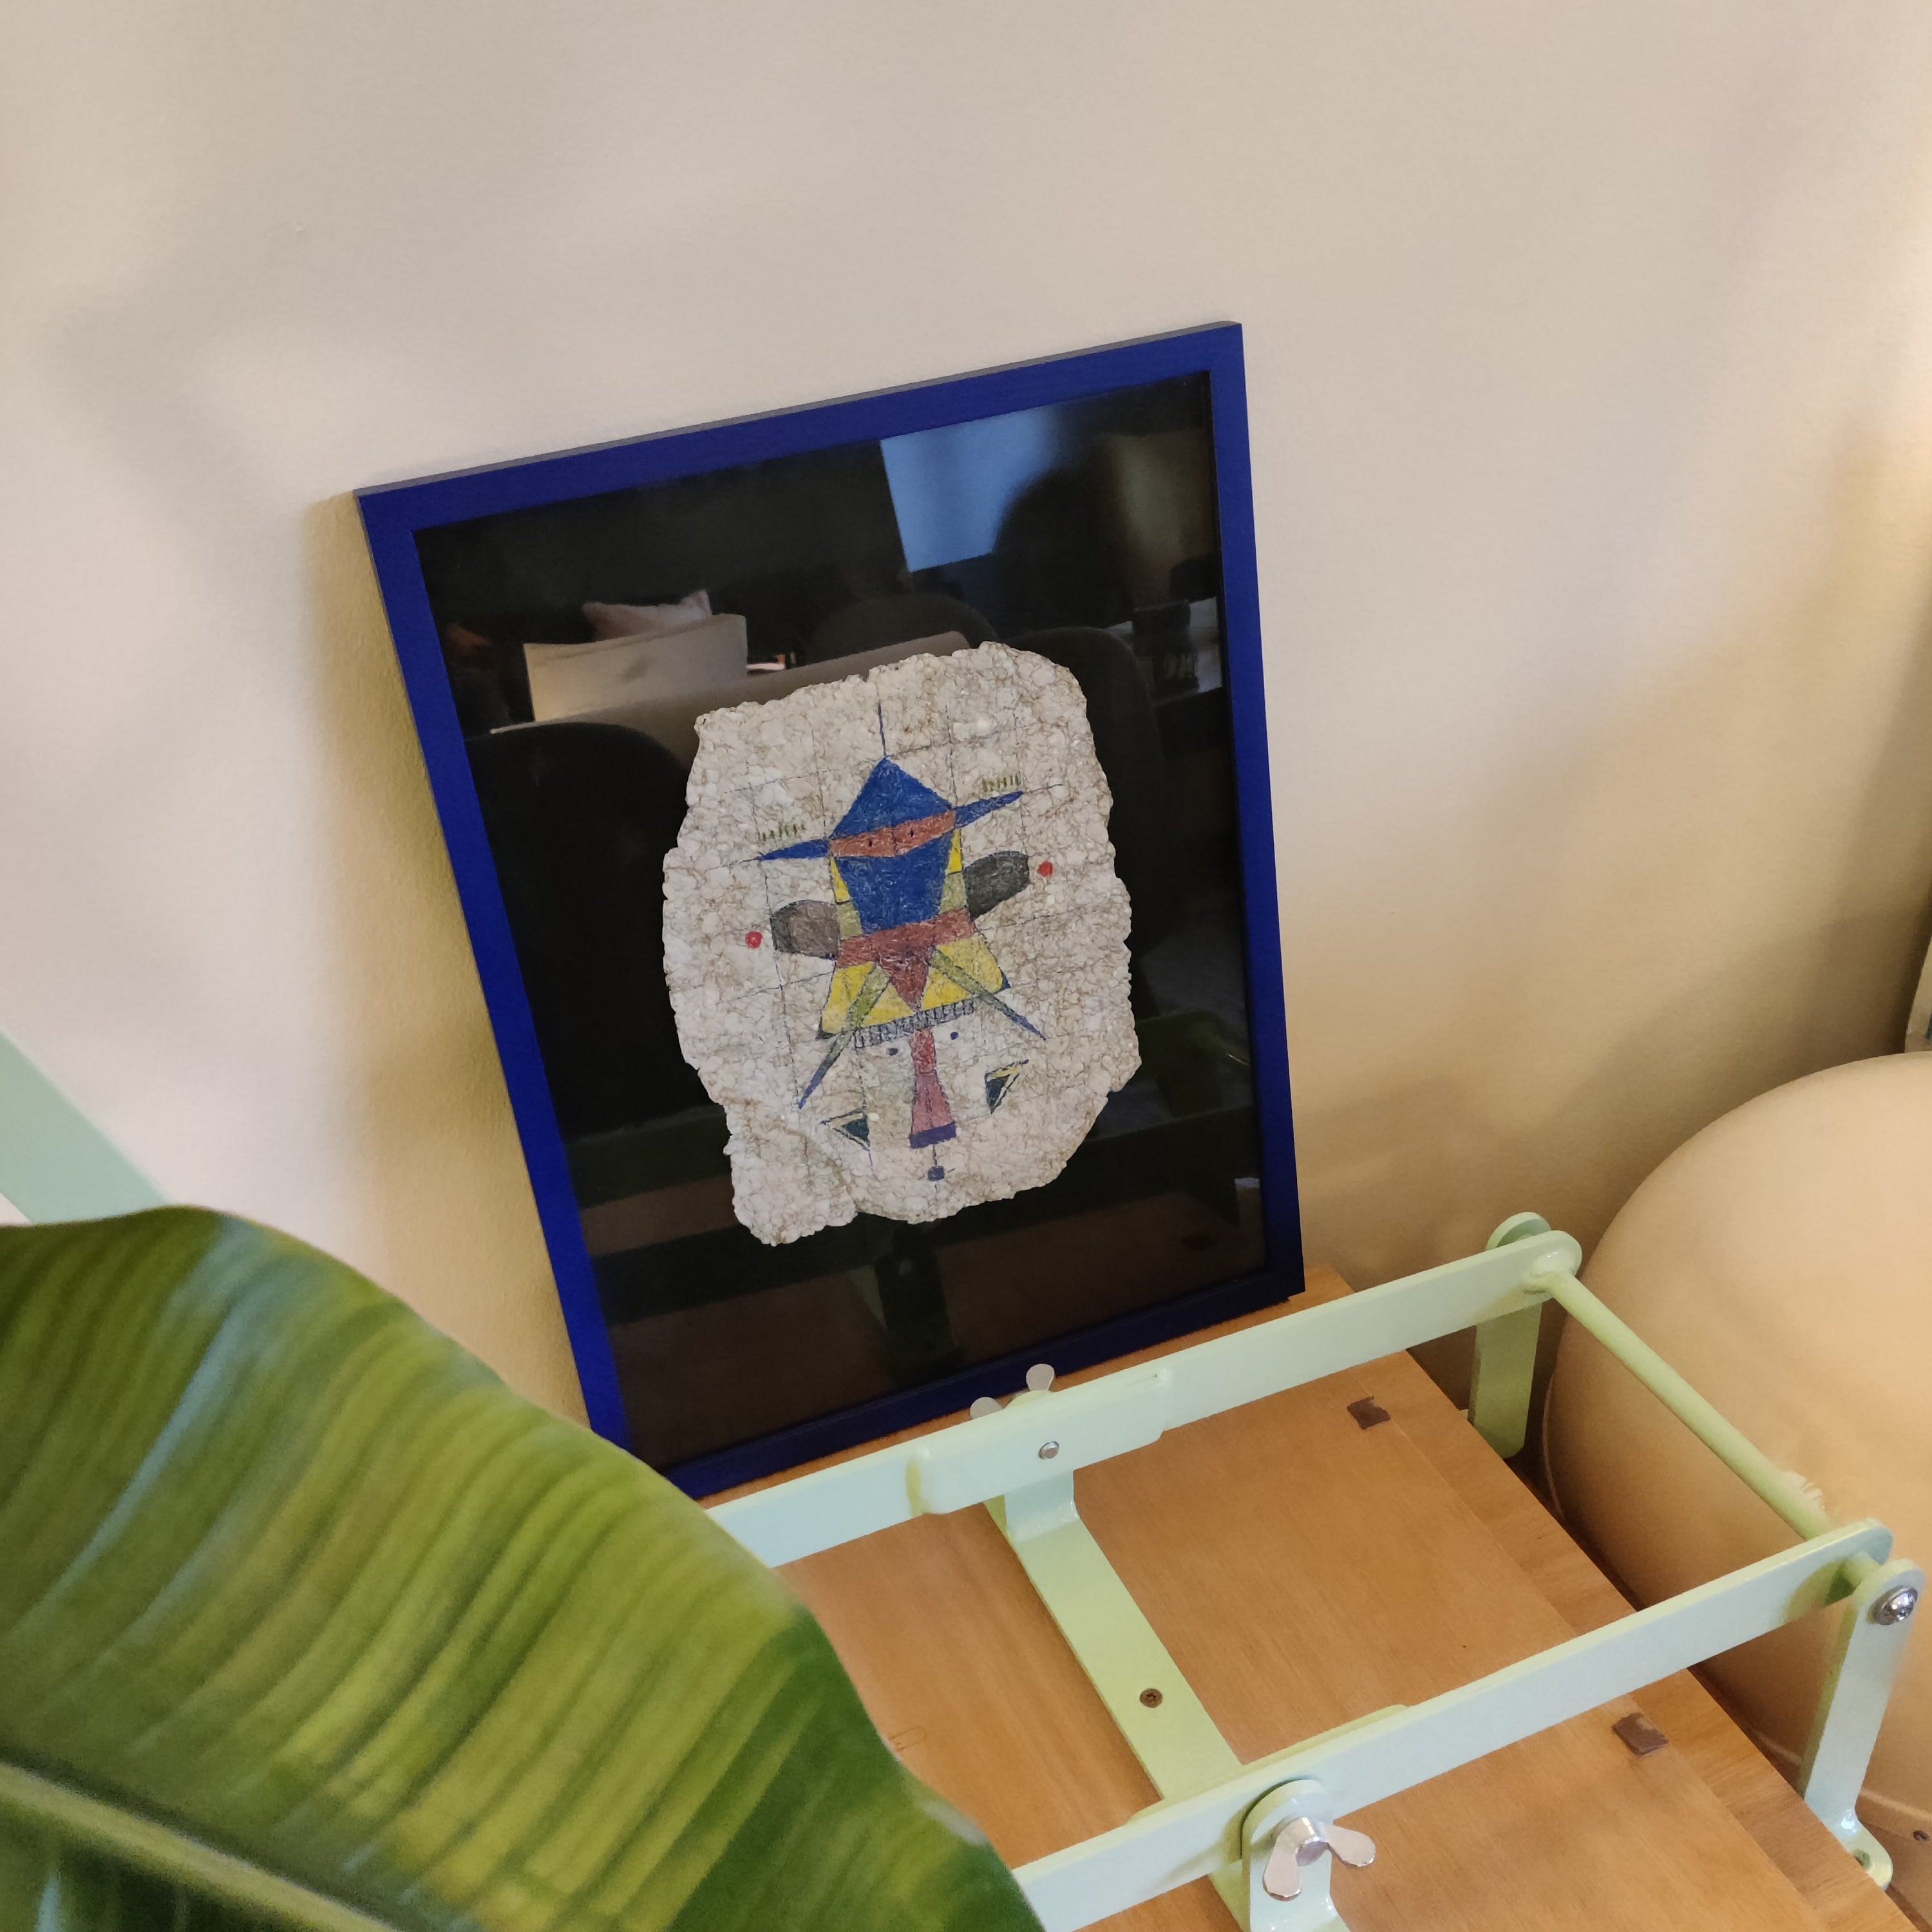
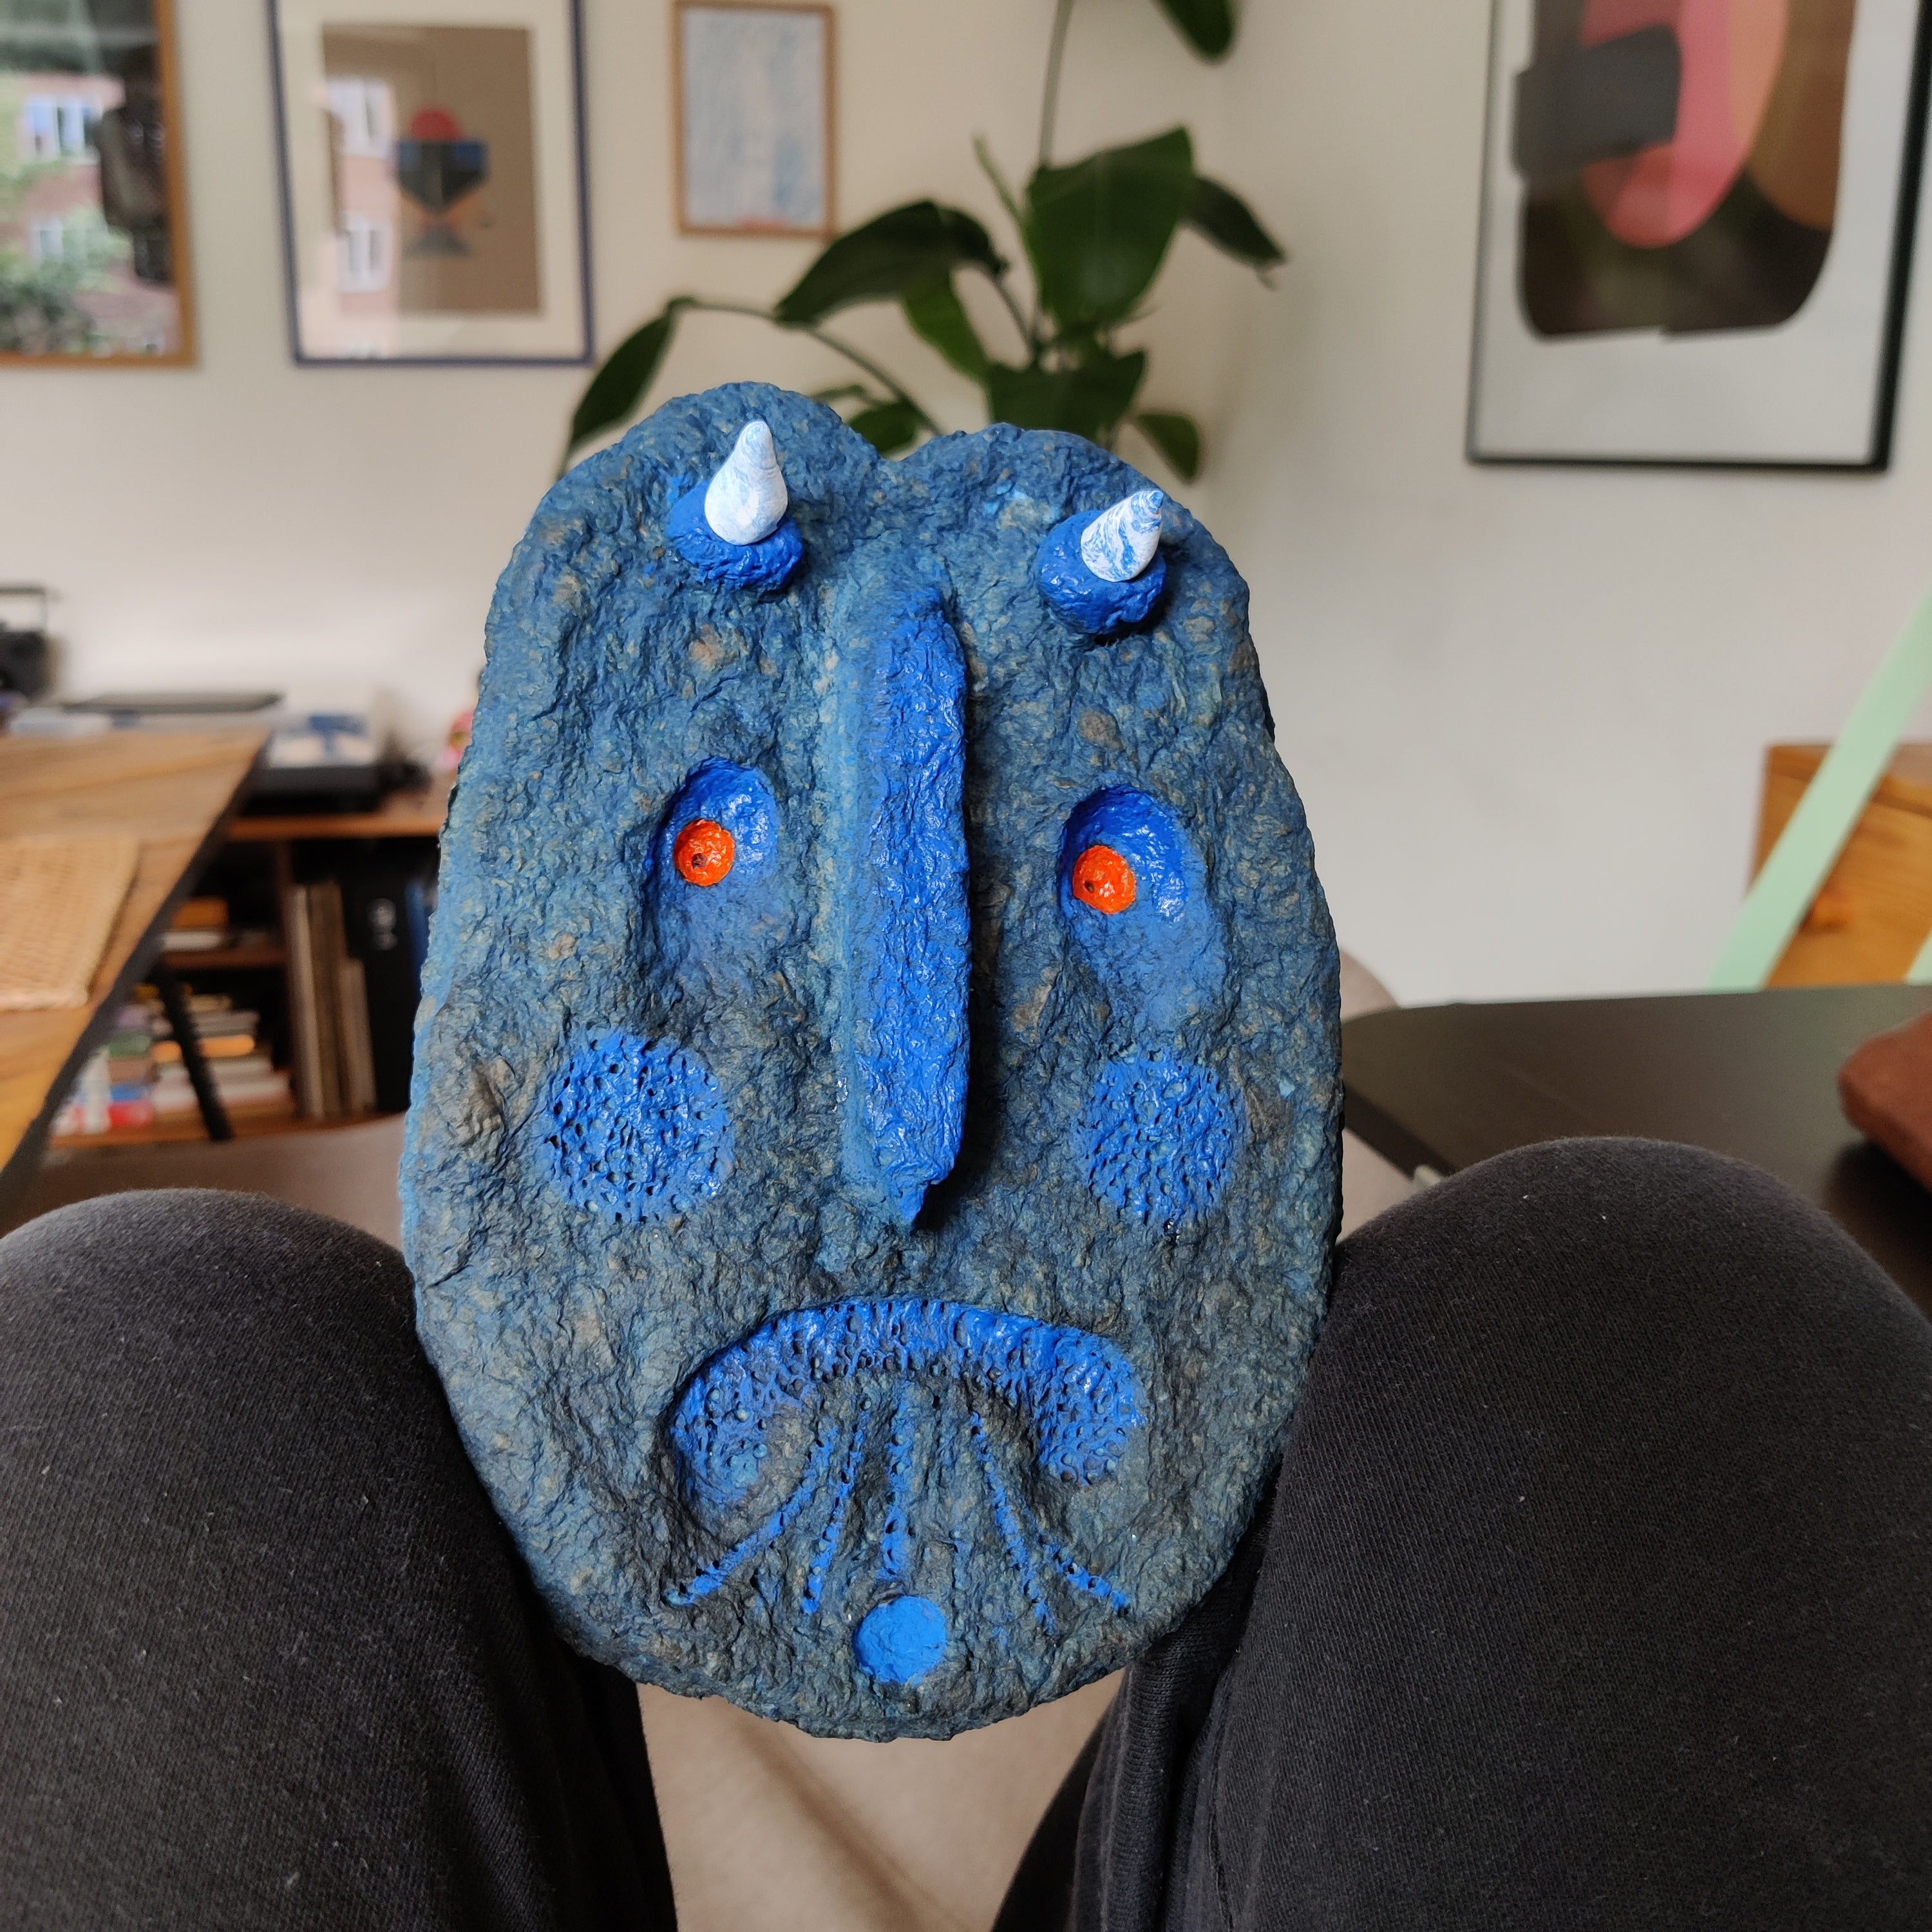
If you prefer playful DIY cardboard wall art, look at character‑based pieces. A Blue Devil (made to scare evil away) uses strong, simplified shapes and a limited palette for a small, striking artwork (about ≈€116). It shows how much personality you can get from simple cut forms and expressive eyes or horns.
The Blue Penguin Poster (~≈€73) follows a similar idea with a friendly animal figure. For DIY, sketch a very simple silhouette of a character on cardboard, cut it out, and layer extra shapes for beak, eyes, or clothing. Paint in flat bright colors and consider making a set (for example, three different animals in the same style) for a kids’ room gallery wall.
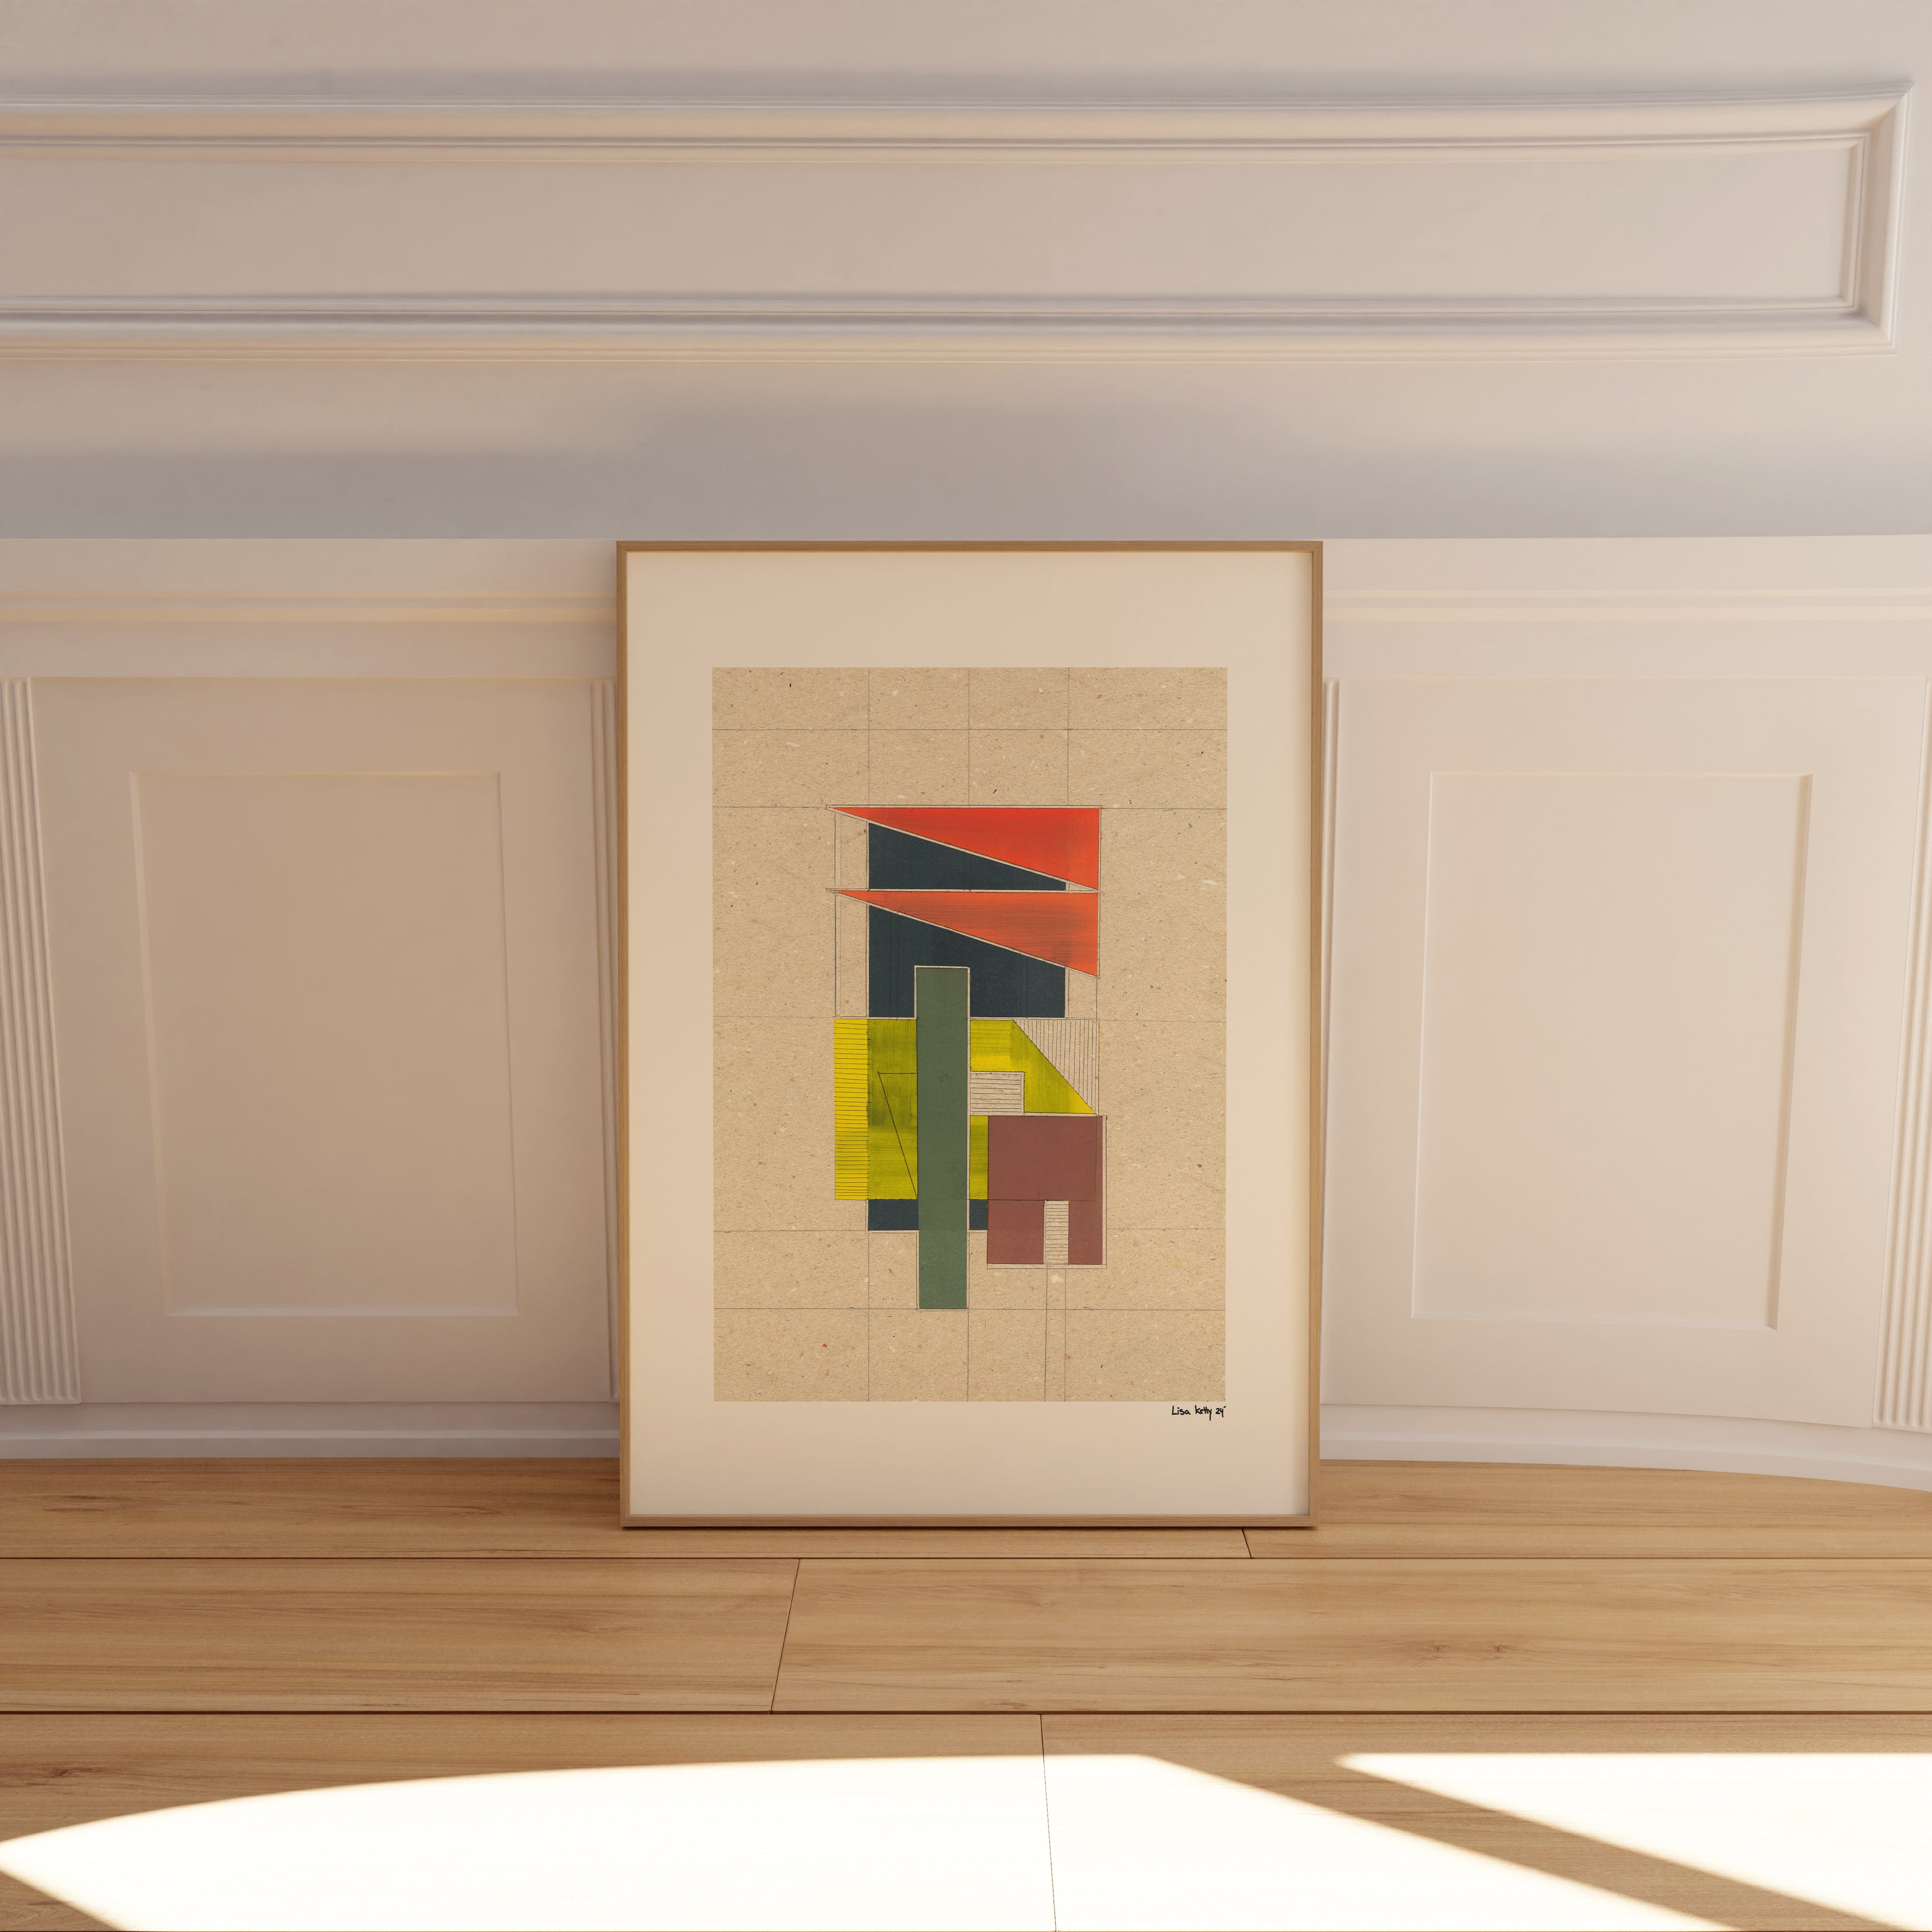
8. Minimalist and Architectural DIY Cardboard Wall Art
Using Buildings and Bottles as Simple Motifs
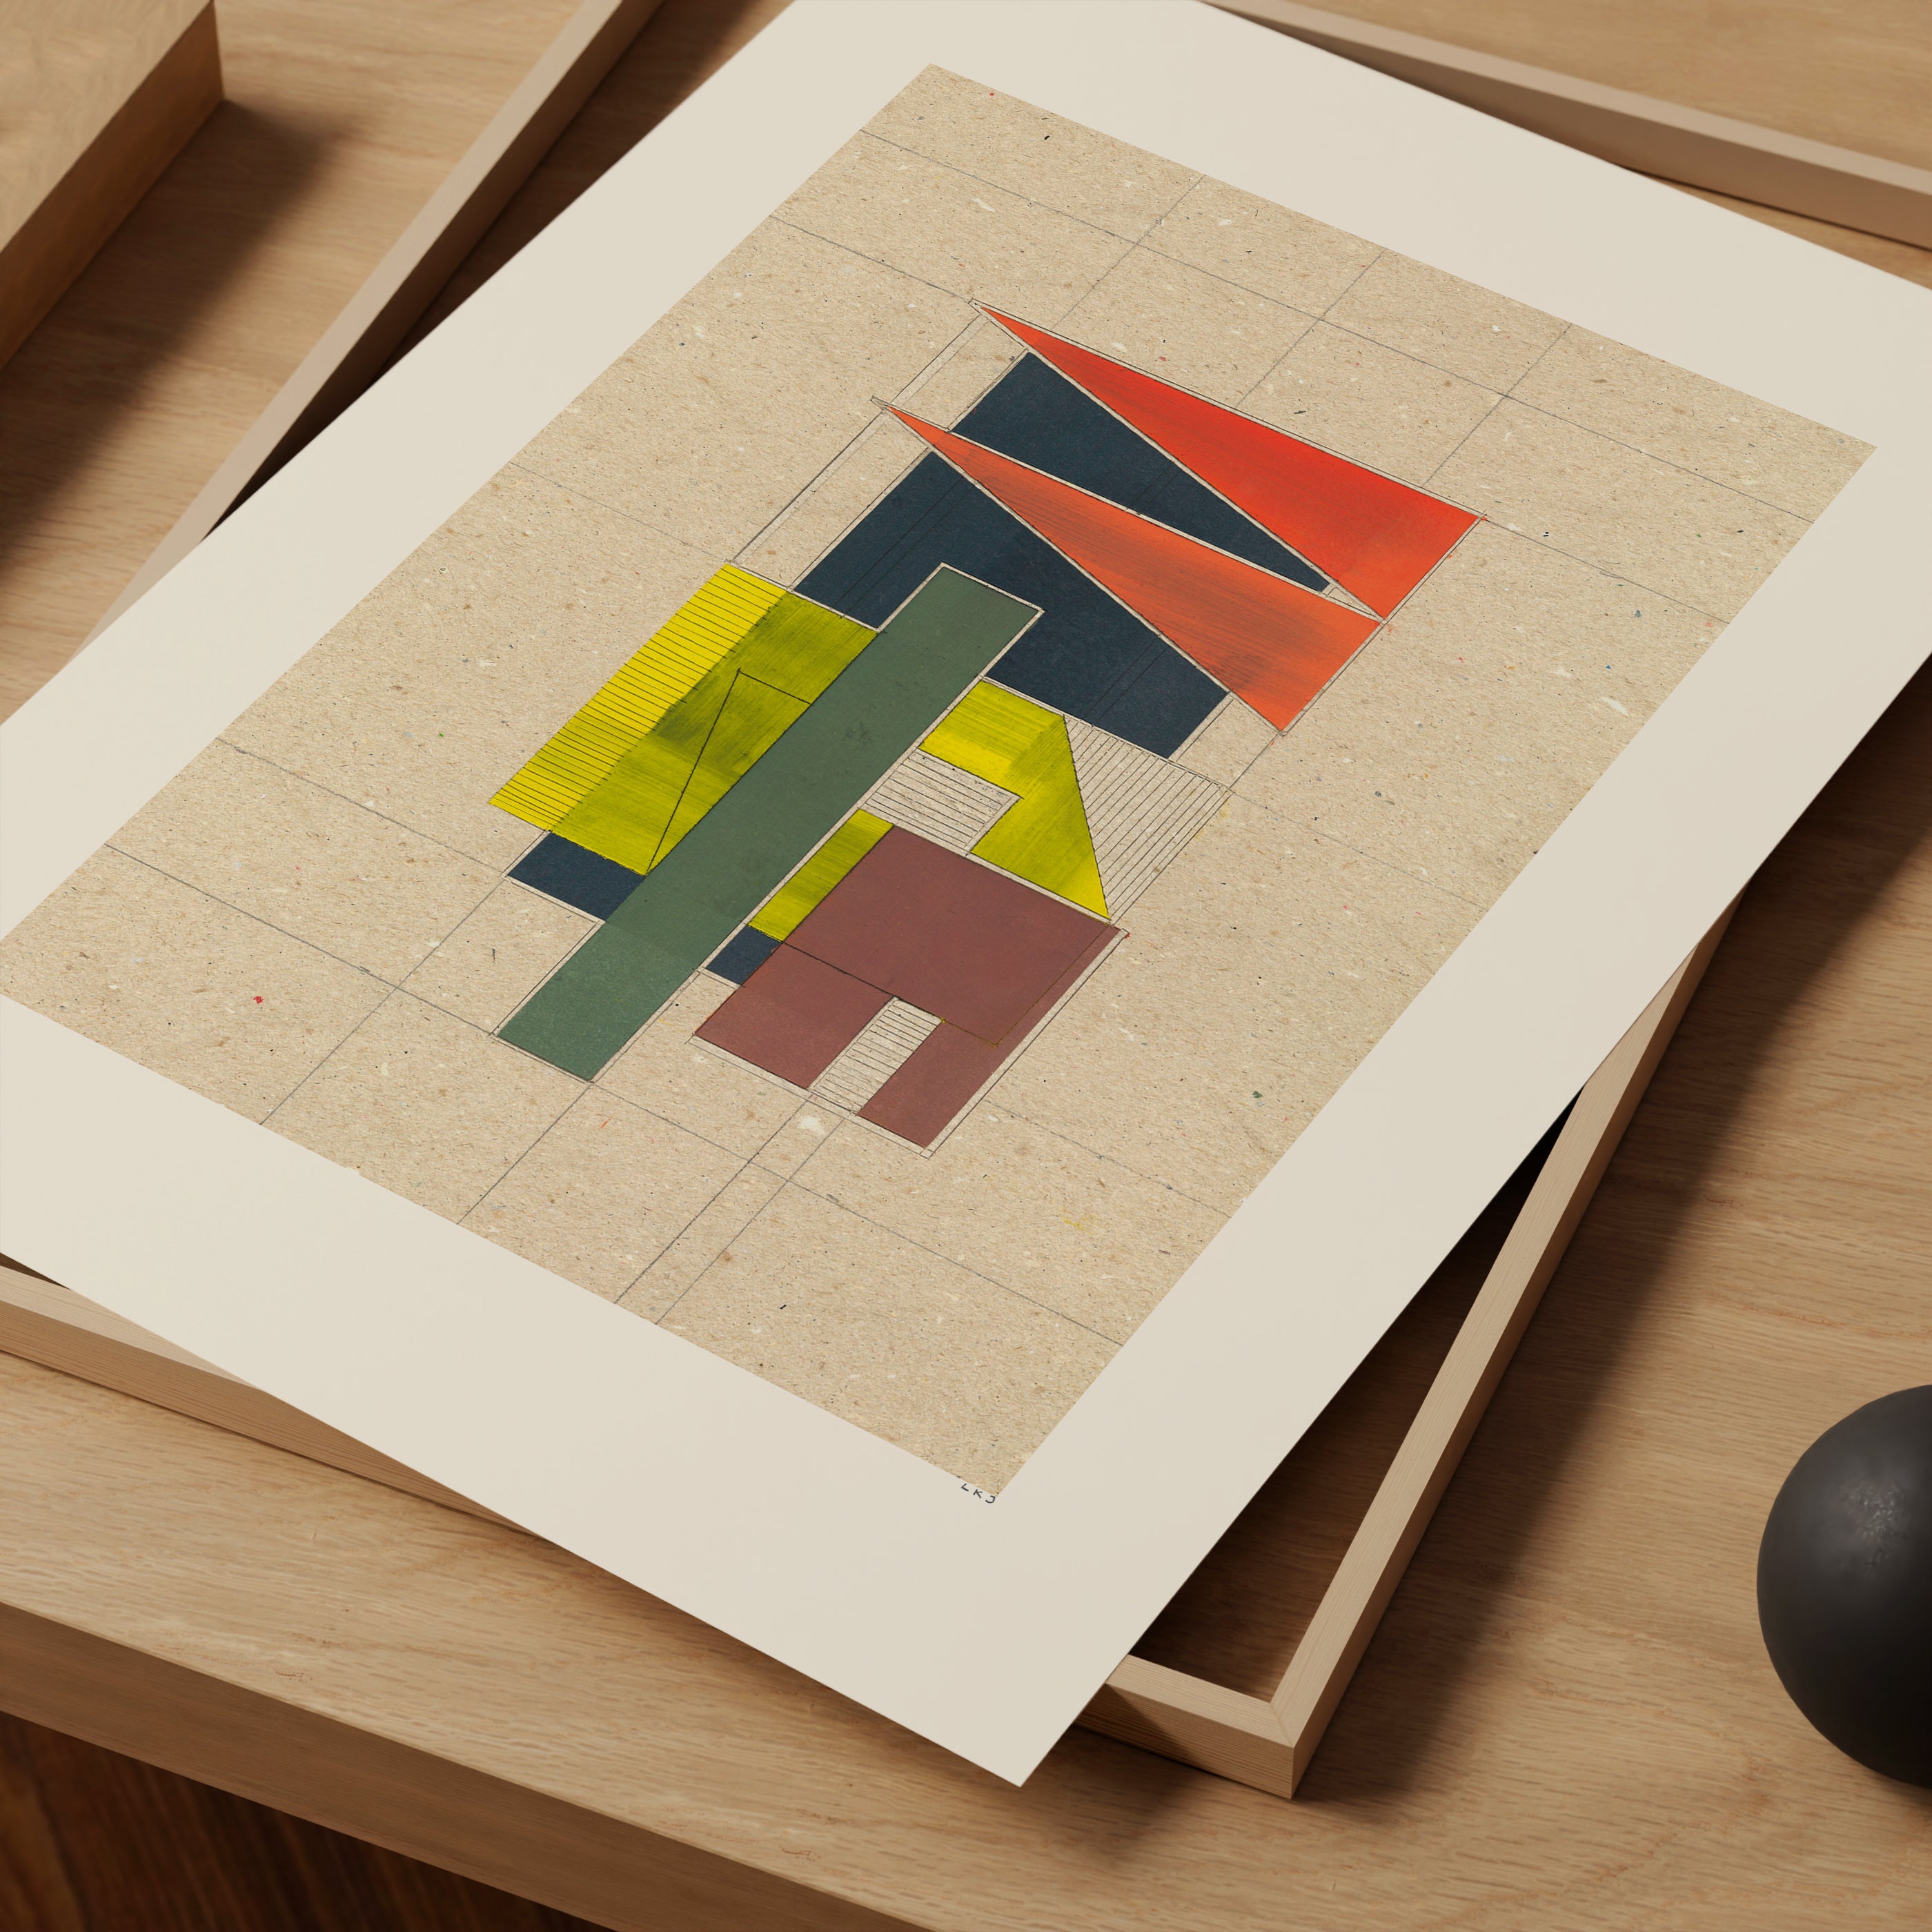
Minimalist cardboard wall art often leans on architecture and everyday objects. The Architectural Building Poster (~≈€73) uses clean, modular blocks to suggest a building, while still feeling quite abstract. To mirror this in DIY, cut rectangles and squares of different sizes and stack them like a skyline or house silhouette, keeping your color palette soft and restrained.
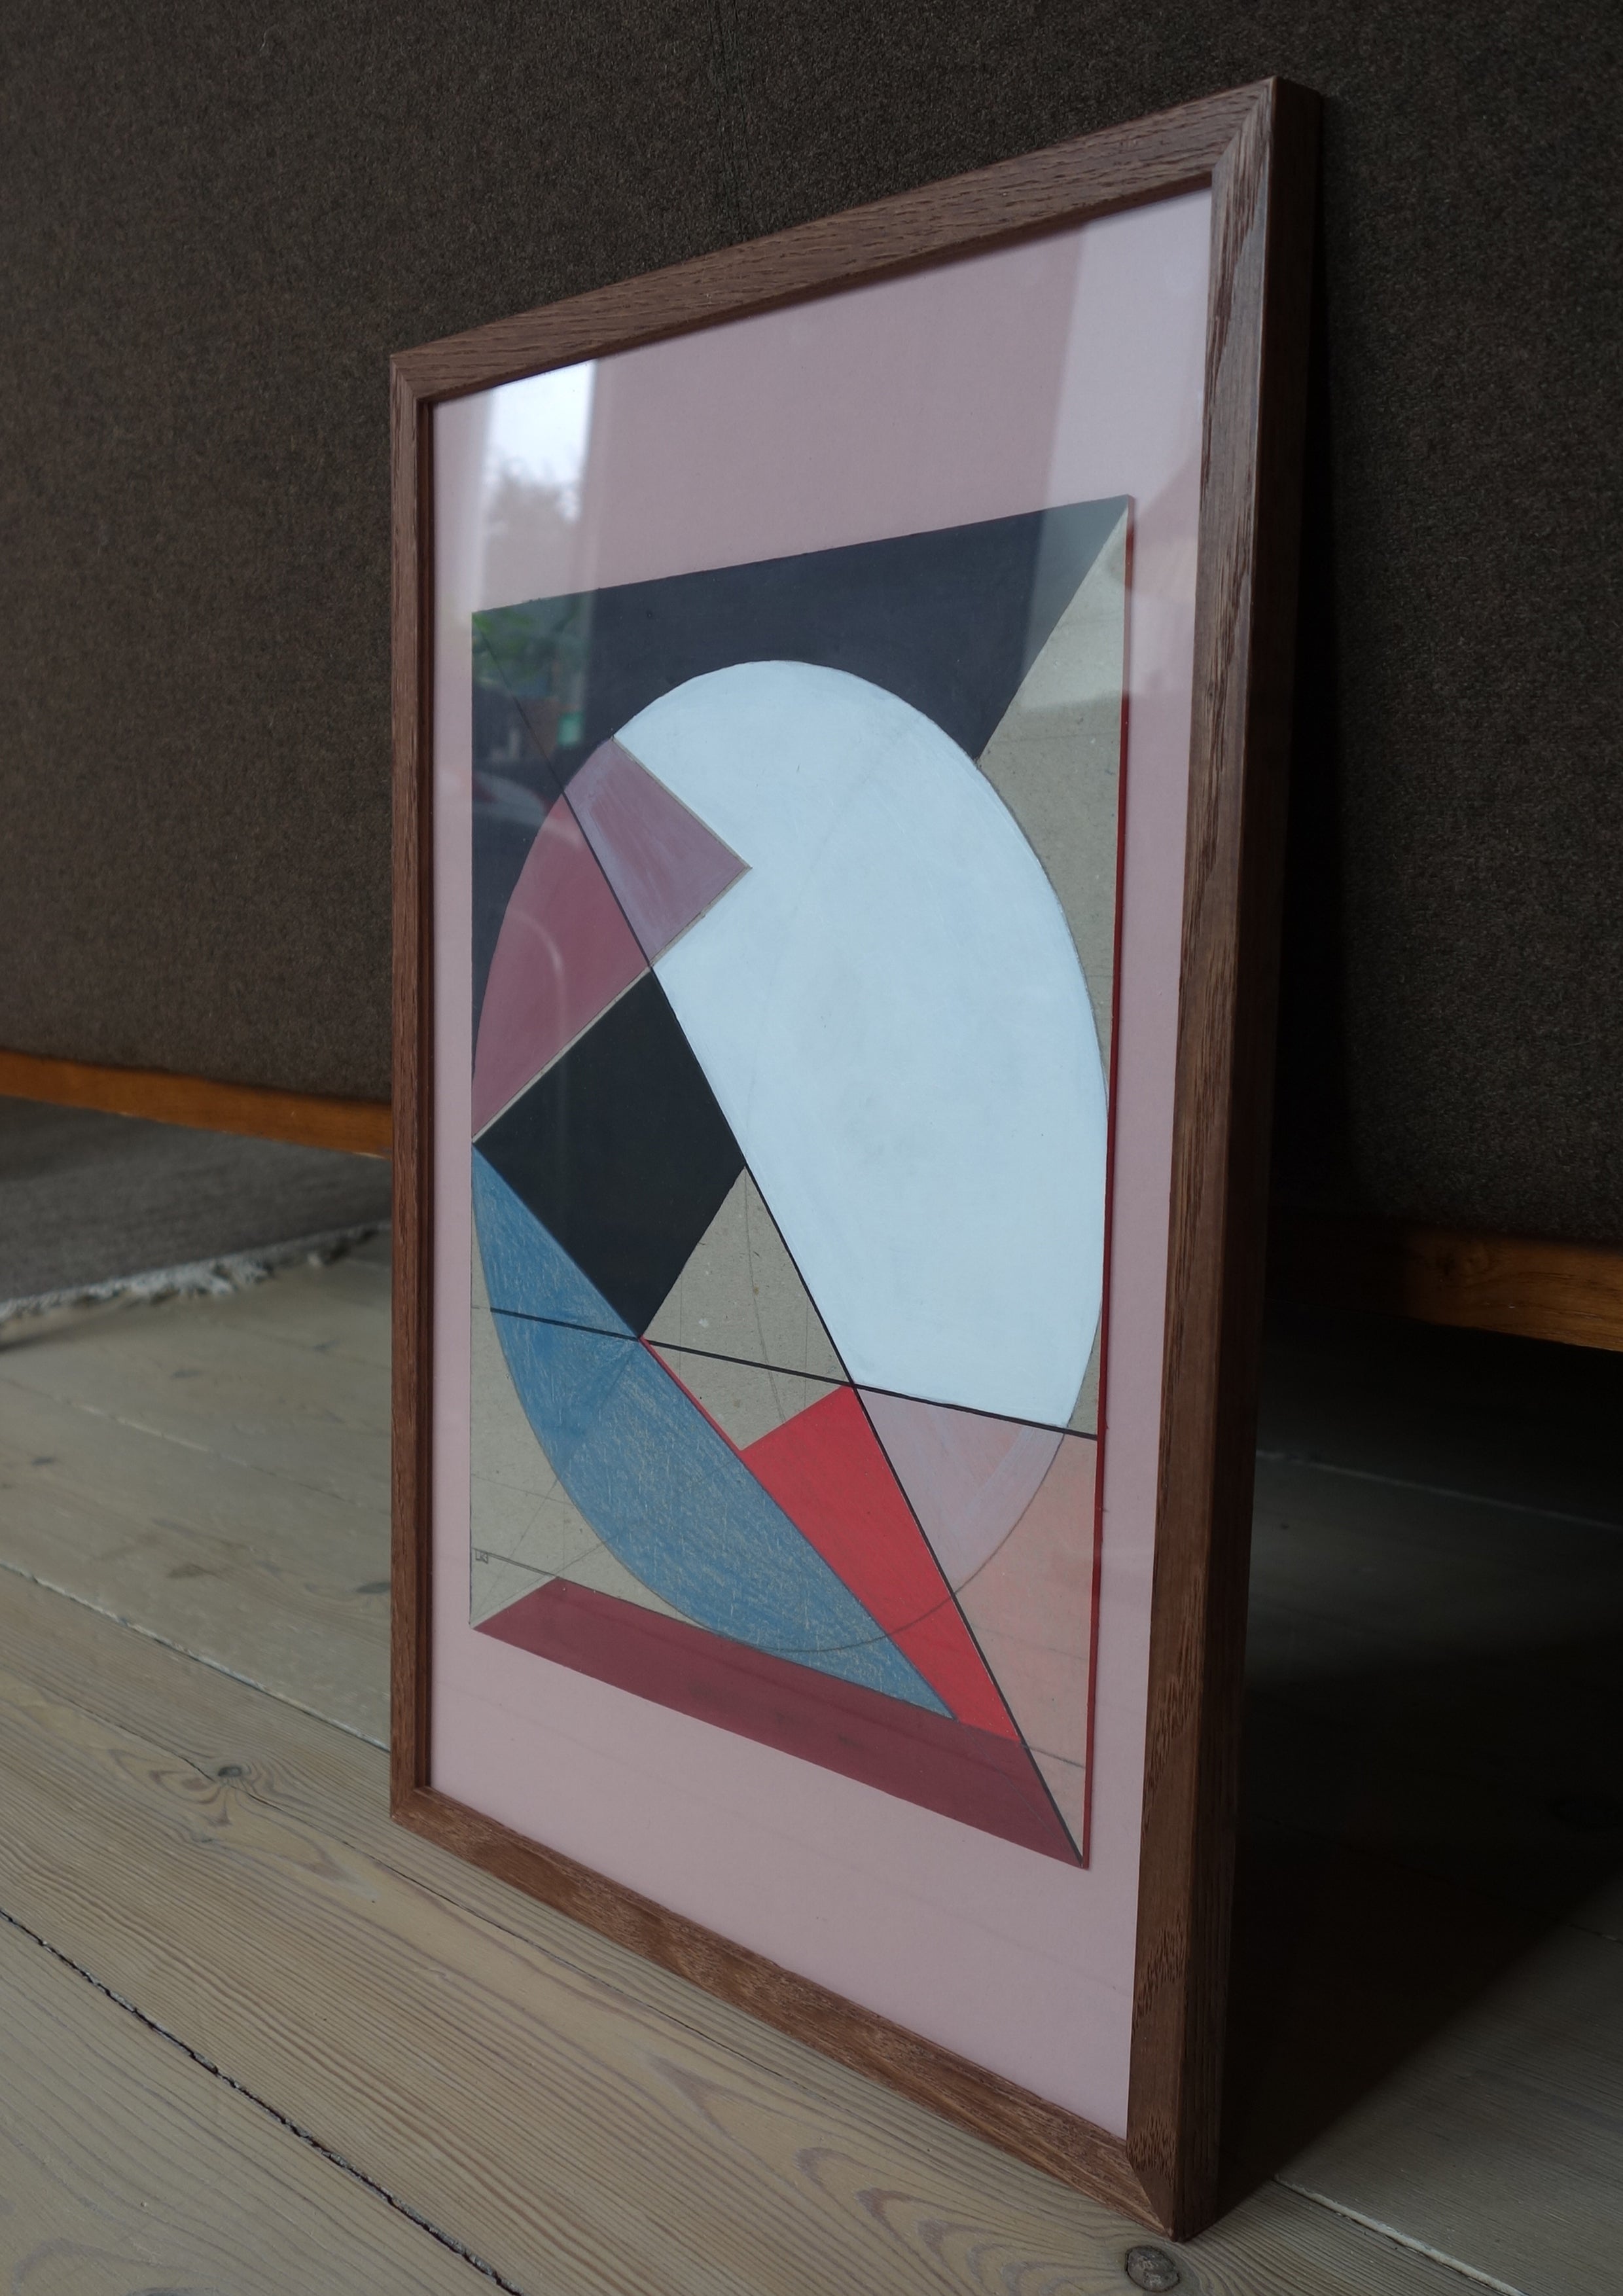
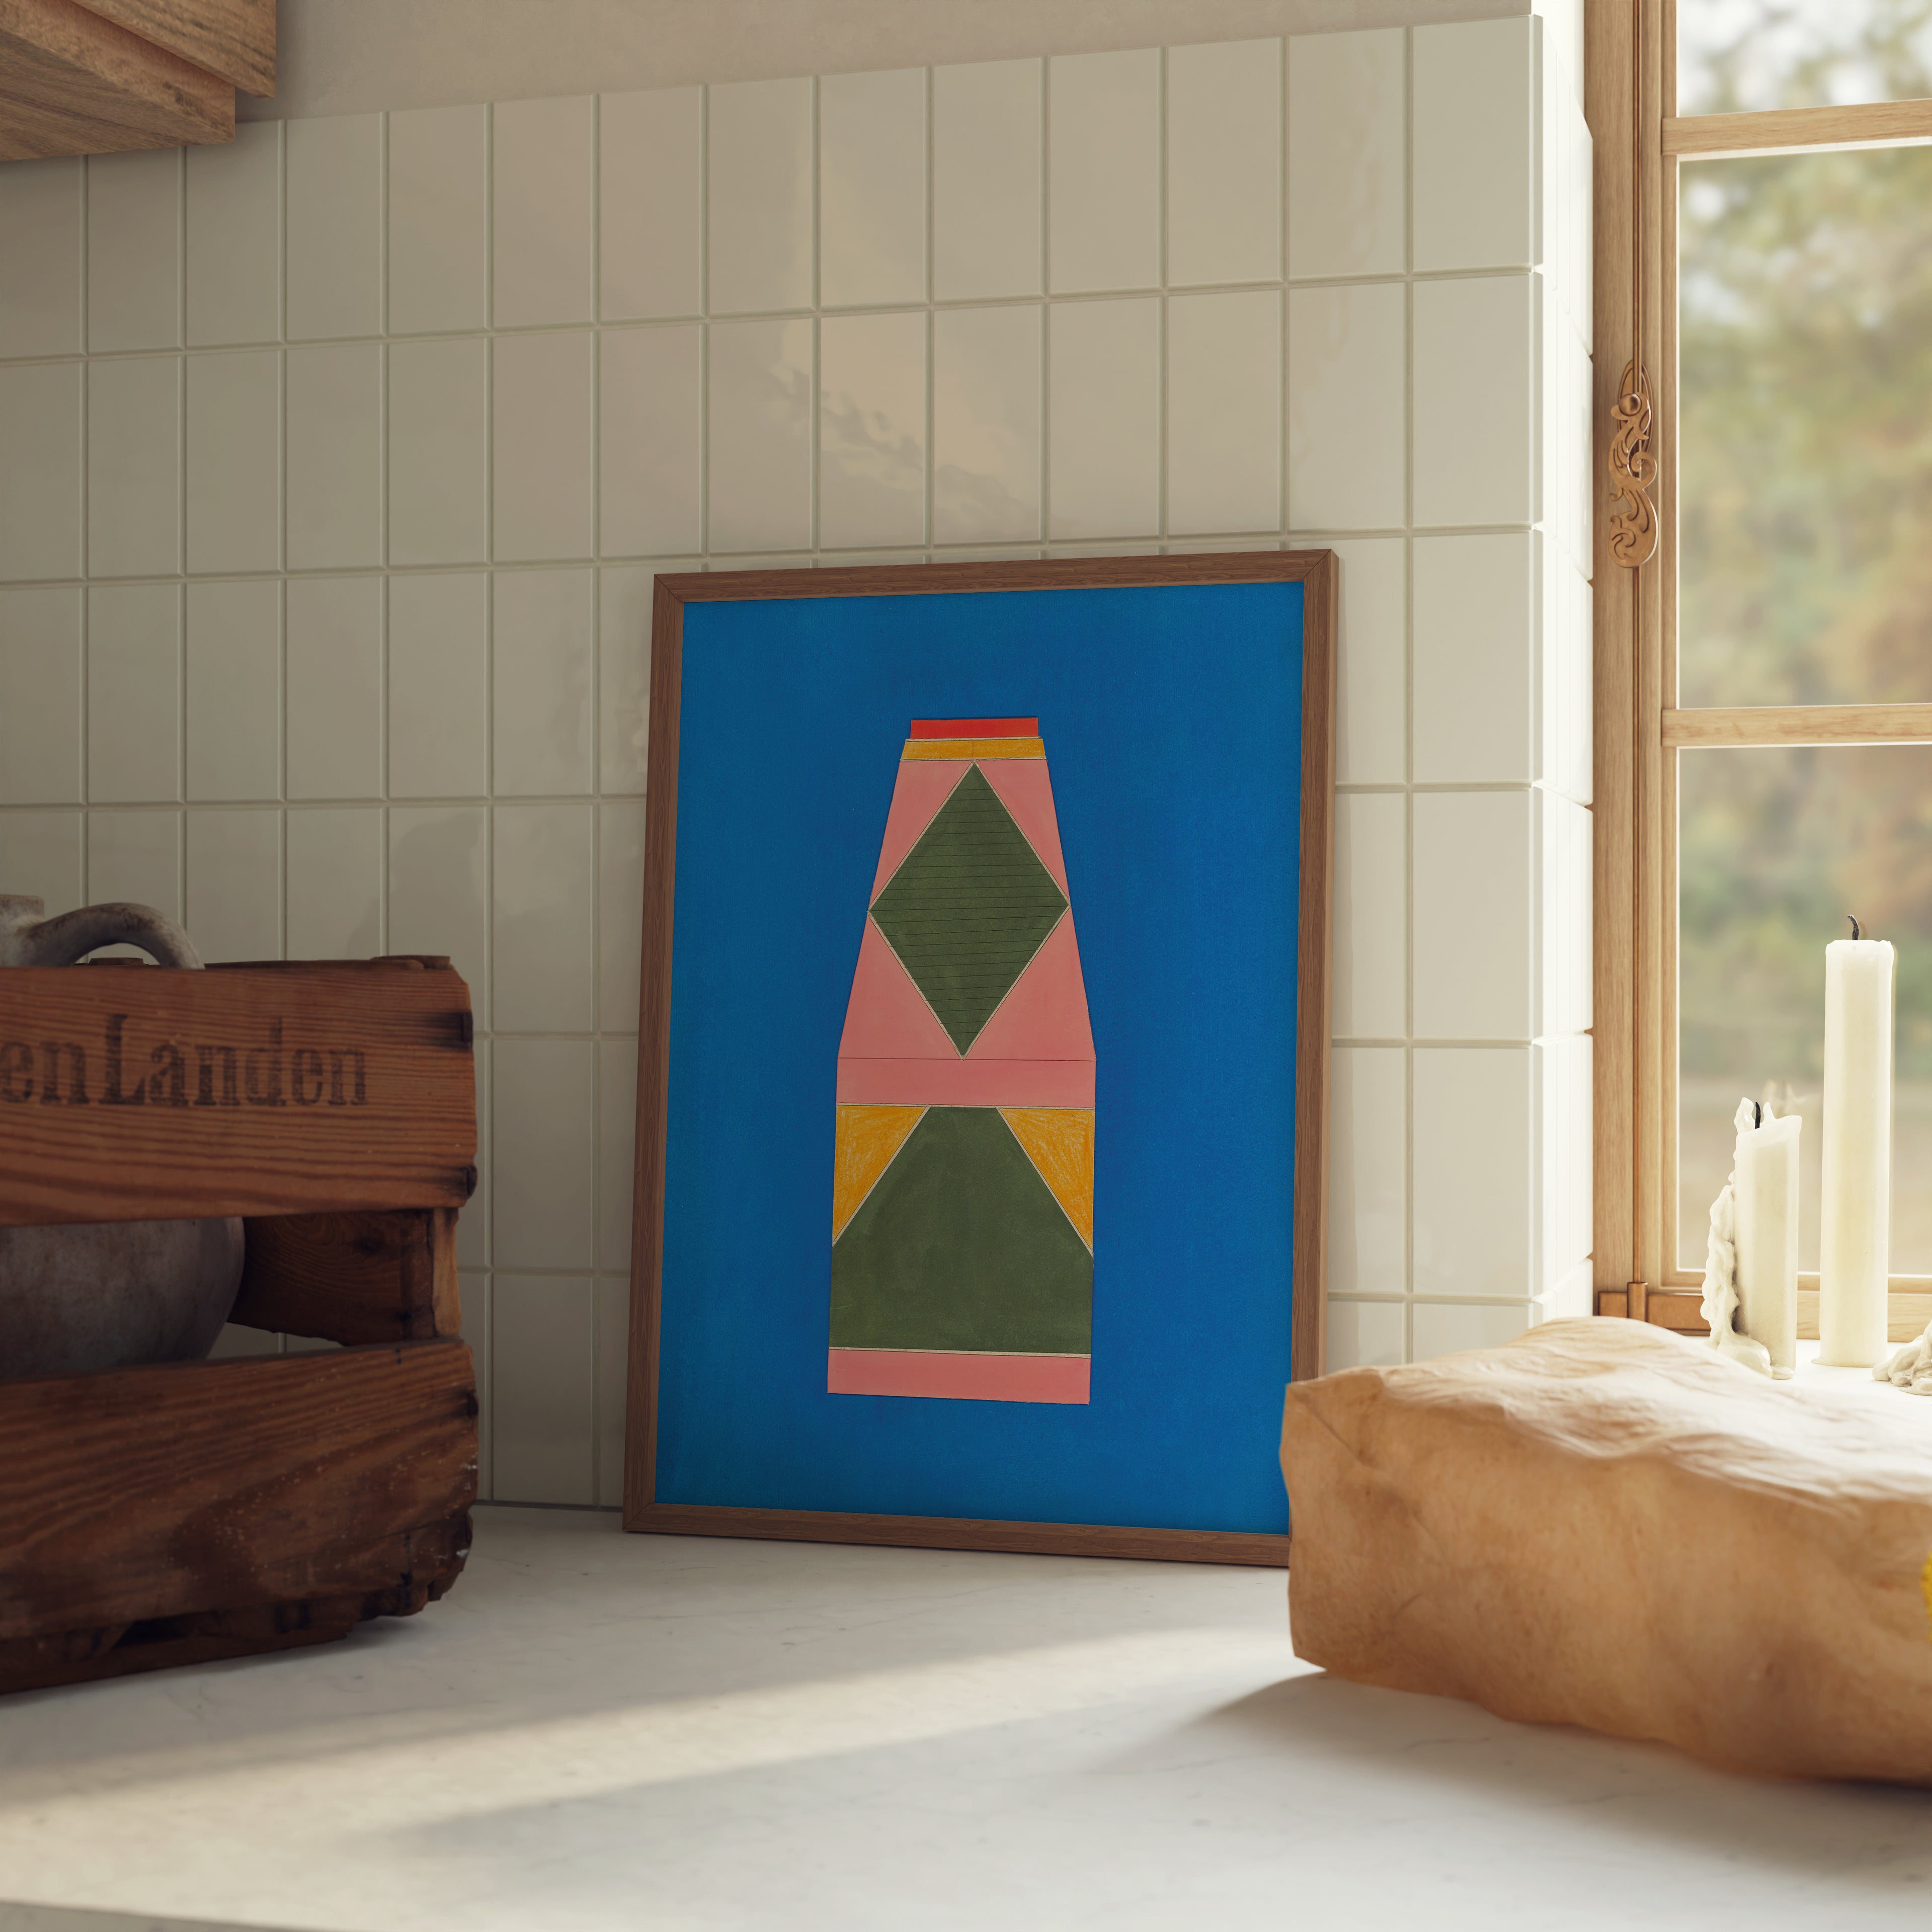
The Milk bottle with the drop of light original (~≈€364) shows how a single bottle shape can be enough for a full composition when supported by good color and subtle curves. You can simplify any everyday object—a mug, bottle, window—into a silhouette, then break it into two or three cardboard layers for a soft 3D effect.

9. Bold Color Combinations: Learning from “Mystical Cardboard Juice” and Kitchen‑Friendly Art
Designing Colorful DIY Wall Pieces
Cardboard doesn’t need to stay brown. Many of Lisa Ketty’s works feature saturated color combinations that would sit well in kitchens and dining areas. The Mystical Cardboard Juice Poster (~≈€73) uses bright blocks of color to suggest a drink and packaging, perfect as a model for playful, food‑related DIY wall art.
For your own pieces, pick three to four colors and stick with them across a whole series—perhaps one warm, one cool, one neutral, and one accent. Use them consistently on repeated shapes (for example, all circles in one color, all stripes in another). This gives your cardboard wall art a unified, collection‑like look, similar to curated artworks for kitchens and dining spaces.
10. Finishing, Framing, and Displaying Your DIY Cardboard Wall Art
Simple Steps to Make DIY Pieces Look Gallery‑Ready
Once you finish painting and gluing, a few extra steps will help your DIY cardboard wall art feel complete. First, make sure edges are clean—trim stray fibers with a sharp blade once everything is dry. Consider gluing your piece onto a slightly larger sheet of thick white or black paper to create a border.
Framing adds a lot, even with inexpensive frames. Many of Lisa Ketty’s works are shown in simple oak or black frames, which immediately makes them look ready for a living room wall. Hang multiple pieces together—maybe one geometric work inspired by the Eight Poster, one character influenced by Blue Devil, and one minimalist piece in the spirit of Architectural Building Poster—to create a DIY gallery that feels cohesive.
Conclusion
DIY cardboard wall art turns leftover boxes into graphic, colorful, and sometimes surprisingly sophisticated decor. By studying real artworks—like the 3D texture of the Zig‑Zag Cardboard Artwork, the clean geometry of the Eight Poster, or the playful energy of Blue Penguin and Paper pulp rocket man—you get concrete ideas you can translate into your own low‑cost projects.
With a basic kit that might cost under €60, you can create multiple pieces that reflect your taste, from minimal architectural forms to bright characters for kids’ rooms. Start with simple shapes, keep your color palette focused, and finish your art cleanly with backing and frames. Over time, your DIY creations can grow into a personal cardboard art collection that feels as intentional and expressive as professional work, at a fraction of the price.